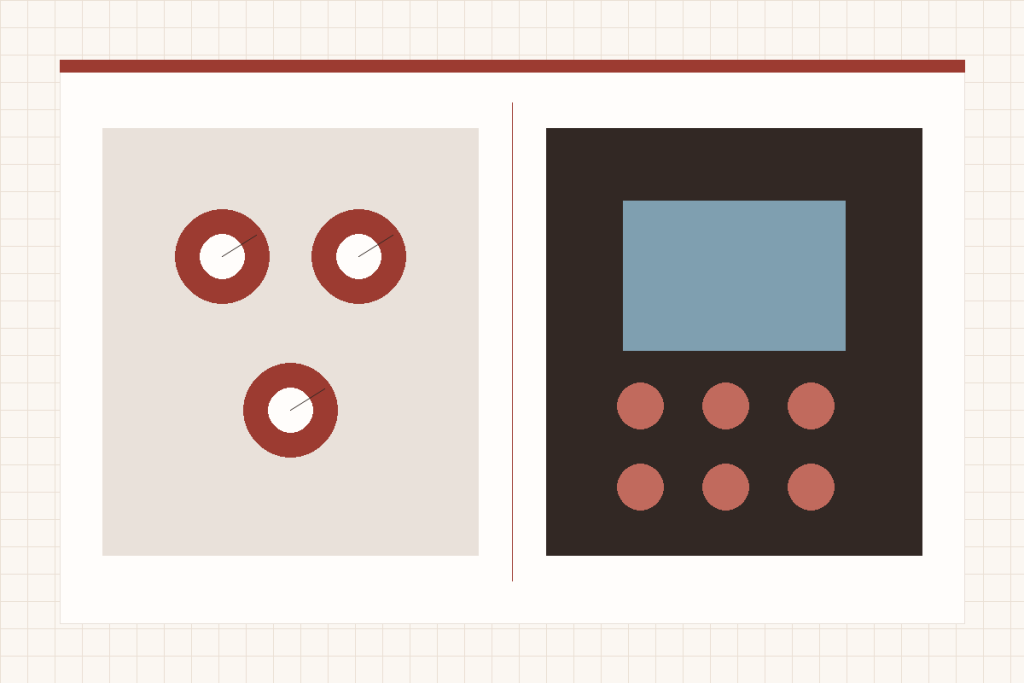
A mechanical vs computerized sewing machine choice is mainly about how the operator selects, limits and repeats stitches. Mechanical machines use dials, levers and direct controls. Computerized machines use electronic selection and may add speed limiting, start/stop, needle stop, memory or automatic buttonholes. Neither design is automatically more durable or easier for every sewist.
Begin with the control question
Some sewists understand a machine fastest when every choice is visible on a dial. Others gain confidence by selecting a stitch and setting a maximum speed before the seam. Neither preference indicates skill level. The correct interface is the one that reduces setup errors and supports the projects made most often.
Turn a dial and observe the change
Useful for a narrow set of utility stitches and hands-on adjustment.
Set boundaries before sewing
A speed slider and needle stop can reduce pedal and hand coordination demands.
Features do not arrive as one package
Some electronic machines lack a cutter; some mechanical models offer strong adjustment.
Speed management can reverse the beginner verdict
Mechanical machines often depend on foot-pedal control, though exact designs vary. A beginner with limited ankle control may find a sensitive pedal difficult even when the panel is simple. Many computerized machines offer an adjustable speed ceiling and sometimes pedal-free start/stop sewing, making the machine easier to contain.
That does not mean computerized is always easier. Menus, icons and mode changes can create a learning burden, and a buyer who needs only straight stitch and zigzag may prefer direct controls. Test the lowest useful speed, reverse, needle position and a complete stop/start sequence on the exact model.
Stitch count is a library, not a quality score
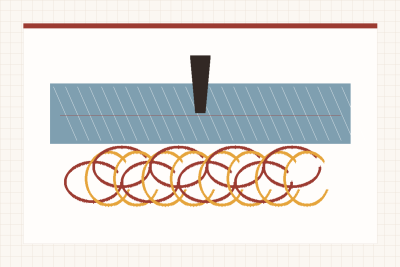
A computerized machine can store dozens or hundreds of utility, decorative and lettering patterns. A mechanical model may offer fewer than twenty. The larger number creates options but does not prove smoother feeding, straighter seams or longer life. Most construction work still relies on a small group of stitches.
List the stitches used in recent projects. Straight, zigzag, stretch options, blind hem and buttonholes may cover most needs. Decorative stitches, alphabets and quilting patterns matter when they are planned, tested and repeated—not because they make a specification table longer.
Buttonholes and needle position are daily workflow features
| Task | Mechanical tendency | Computerized tendency | Question to ask |
|---|---|---|---|
| Buttonholes | Four-step or mechanical one-step depending on model | Multiple one-step styles may be stored | Can it repeat the required buttonhole on actual fabric? |
| Needle stop | Manual handwheel or fixed behavior | Selectable up/down is common on many models | Does pivoting or appliqué make this useful weekly? |
| Stitch settings | User sets length/width by dial | Defaults may load with each stitch | Can settings be overridden clearly? |
| Thread cutting | Manual cutter or scissors | Automatic cutter on some models | Is the feature included on this exact machine? |
| Start/stop | Usually pedal controlled | Button may allow pedal-free sewing | Does the intended work benefit from it? |
Fabric handling comes from more than the interface
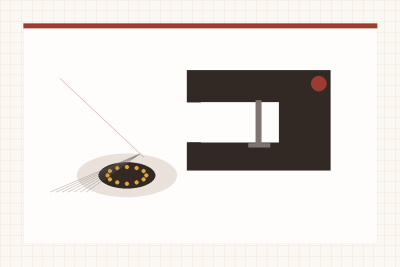
Feed design, presser-foot pressure, foot options, needle system, workspace, stitch length, motor control and frame support affect fabric handling. A basic computerized machine can be less suitable for bulky quilting than a well-equipped mechanical model, while an electronic machine with box feed and pressure adjustment can provide substantial control.
Do not use maximum speed, motor marketing or “heavy duty” as a feeding score. Test the real seam construction with the correct needle and thread. Look for smooth starts, consistent feeding, acceptable buttonholes and control at junctions rather than trying to force the thickest possible stack.
Make the test realistic but reversible. Prepare the seam allowances, interfacing and layer transitions used in the actual project, then compare the machines at a comfortable pace. Add a fine-fabric sample as well as the bulky one when the project list includes both. A machine that crosses one thick hump but distorts ordinary fabric has not demonstrated broad project fit.
Maintenance and repair need a failure-consequence view
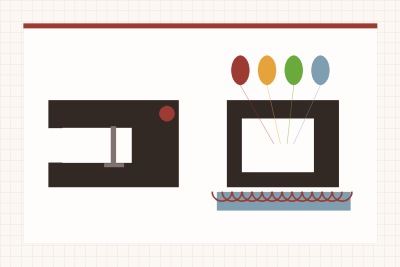
Mechanical controls can make certain settings visible and may use fewer electronic parts, but mechanical timing, feed and tension still require service. Computerized machines can prevent some operating errors and automate repeated tasks, while a display, sensor or control-board failure can require specialized diagnosis.
No broad architecture guarantees reliability. Compare exact warranty terms, local technician capability, parts availability, return policy and replacement cost. A simple machine with no local support can be harder to own than a computerized model backed by a capable dealer, and the reverse can also be true.
Route projects through the control differences
| Project pattern | Likely better starting architecture | Reason |
|---|---|---|
| Occasional repairs and basic garments | Mechanical or simple computerized | A focused stitch set may be enough; compare low-speed control. |
| Detailed appliqué and pivoting | Often computerized | Needle stop and speed limiting can reduce repeated motions. |
| Frequent garment buttonholes | Often computerized | Repeat one-step styles may improve workflow. |
| Classes and weekly transport | Either | Weight, cover and setup speed matter more than architecture. |
| Quilting with bulky projects | Either exact model | Workspace, feed, table and controls decide. |
| Budget backup machine | Often mechanical | Direct essentials can be coherent when support and pedal control are acceptable. |
Compare the Bernette B33 and B37 as a real fork
The Bernette B33 vs B37 comparison holds workspace and included feet relatively constant while control architecture changes. The B33 provides direct mechanical operation and a higher maximum speed; the B37 adds a limiter, start/stop, needle stop, top bobbin and one-step buttonholes.
That example shows why “simpler” depends on the operator. A dial-only panel may feel clear, while the B37’s adjustable ceiling can make the first seam easier to control. The correct choice comes from repeated tasks, not an abstract fear of electronics.
Run a five-project feature-use audit
- List five recent or planned projects. Use real garments, quilts, repairs or crafts rather than a future identity.
- Mark every repeated control action. Include low-speed starts, needle positioning, buttonholes, cutting and stitch changes.
- Circle architecture-dependent features. Identify which exact mechanical or computerized model provides them.
- Price the useful difference. Ignore decorative counts and accessories that will remain unused.
- Perform an acceptance test. Thread, sew slowly, reverse, make buttonholes and test intended fabric during the return period.
During the acceptance test, deliberately switch away from the default setup and return to it. On a mechanical model, reset stitch, length and width by the physical controls. On a computerized model, change stitches, override a setting and restore the expected default. The better interface is the one you can recover without uncertainty after an interruption.
Also test power-cycle behavior. Confirm which choices the computerized machine remembers and which reset, and verify that the mechanical controls remain where expected. This matters when several people share a machine or when projects are completed across multiple sessions. Record the safe starting state so the next user does not inherit a hidden mode or unsuitable stitch.
Choose mechanical when direct control genuinely removes friction and the stitch set is sufficient. Choose computerized when electronic assistance repeatedly reduces effort or prevents errors. Browse mechanical sewing machines and computerized sewing machines with the same project checklist so the comparison remains fair.