If you are deciding how to choose a sewing machine, begin with finished projects rather than brands or stitch counts. List what you will make, map the fabrics and repeated operations, then translate those jobs into required capabilities. A feature is valuable only when it removes a real project constraint or repeated motion.
For a quilt already in progress, the regular-machine quilting assessment checks piecing, guided quilting and free-motion readiness before you replace equipment. A machine suitable for assembling blocks may still need different support when quilting the complete sandwich.
Write a twelve-month project list
Use projects likely to begin within one year: trouser hems, children’s clothes, knit shirts, quilts, bags, patches, machine embroidery or occasional repairs. Include frequency and size. “I want to sew everything” is not a usable requirement because no single domestic machine is optimal for every material and stitch formation.
- Three projects you expect to complete first
- Two projects you make repeatedly
- Fabric constructions and realistic layer counts
- Visible operations: seams, hems, zippers, buttonholes, quilting or embroidery
- Largest physical item and required workspace
- Storage, lifting and table constraints
- Experience level and support needed
- Budget for machine, feet, table, supplies and service
Map the fabric before the feature list
Record whether each project uses stable woven fabric, knit, stretch synthetic, fine material, denim, canvas, batting, vinyl or another construction. Then list the thickest actual seam junction—not a stack created only to test power. Needle system, point, size, thread, presser foot and feed setup must work together.
A “heavy duty” label does not prove controlled feeding on bags or upholstery. A high maximum speed does not prove low-speed precision. Require exact documentation and relevant owner evidence, then test the intended seam during the return period.
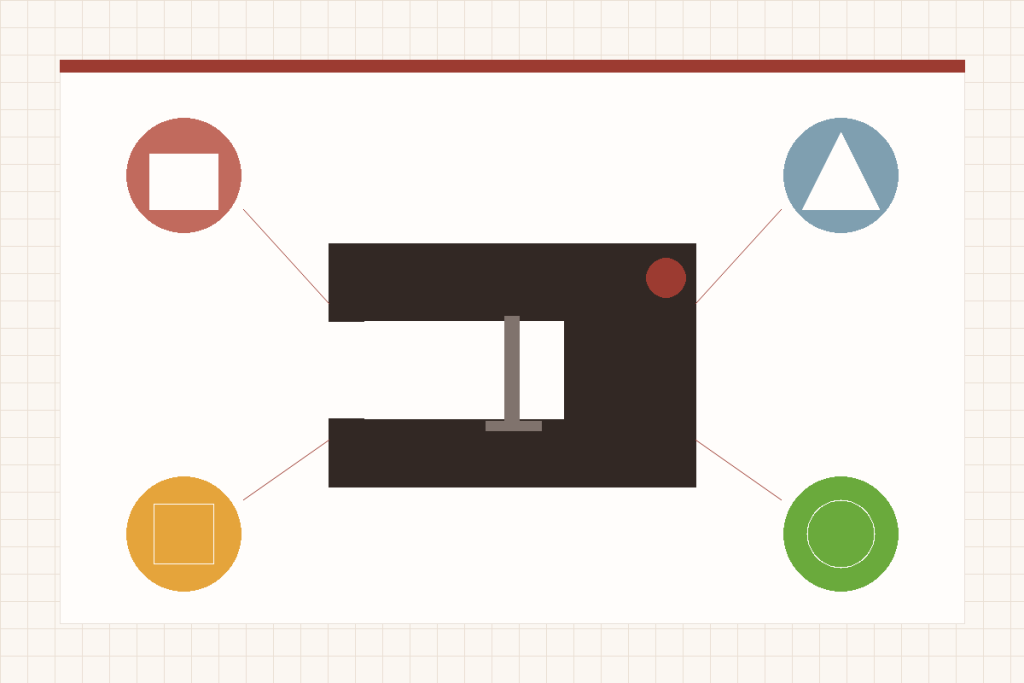
Prioritize control and repeat operations
Buttonholes, free arm, needle position, pressure and zipper feet can matter more than speed.
Prioritize space and fabric support
Throat room, table, feed control, needle stop and free-motion setup shape the workflow.
Prioritize native field and transfer
Measure actual design files before choosing hoop class or combo capability.
Prioritize exact feed and clearance evidence
Do not translate motor language into industrial capability.
Separate required stitches from interesting stitches
| Project operation | Required capability to verify | Common distraction |
|---|---|---|
| Construct woven seams | Controllable straight stitch and reverse | Hundreds of decorative patterns |
| Sew knits | Supported stretch-capable formation and suitable needle setup | Maximum straight-stitch speed |
| Make garments | Repeatable buttonholes, zipper access, free arm where useful | Alphabet stitches never planned |
| Quilt pieces | Accurate feed, quarter-inch setup and control | Heavy-duty wording |
| Free-motion quilt | Feed-dog control, compatible foot, workspace and speed management | Large stitch library |
| Machine embroider | Native embroidery field, compatible formats, transfer and hoops | Outside hoop dimensions |
| Finish raw edges quickly | Overlock/serger formation or acceptable sewing-machine alternative | Assuming a serger replaces buttonholes and zippers |
Mark each row as required, useful or irrelevant. Required capabilities must be documented and pass an arrival test. Useful conveniences may justify a price difference. Irrelevant features should receive zero value even when they make a product page look impressive.
For a concrete garment example, the Brother CE8100 offer should be evaluated around the binding, cording or gathering foot you would actually use. On the Necchi EX60, the buttonhole foot and stabilizer deserve an explicit package check. In both cases, a named operation provides a better accessory requirement than a generic free-bundle value.
Choose the machine class before the brand
A mechanical machine can cover direct general sewing. A computerized machine may add speed limiting, needle stop and stored stitches. A straight-stitch specialist trades zigzag and buttonholes for focused speed and workspace. An embroidery-only machine cannot construct ordinary seams, while a combination machine divides one body between sewing and embroidery. A serger wraps and often trims edges but does not replace general construction.
| Primary project mix | Class to investigate first | Important exclusion |
|---|---|---|
| Repairs and basic garments | General mechanical or computerized sewing machine | Check low-speed control and buttonholes. |
| Garments plus detailed control | Computerized domestic machine | Do not assume a larger stitch count improves feed. |
| Quilting plus garments | Computerized or mechanical model with adequate workspace and feed support | Measure throat; a table does not enlarge it. |
| Dedicated machine embroidery | Embroidery-only machine | Keep a sewing machine for construction. |
| Sewing plus occasional embroidery | Combination machine | Native field still limits embroidery. |
| Fast straight stitch and quilting station | Straight-stitch specialist | No zigzag, stretch stitches or buttonholes. |
| Frequent knit construction and edge finishing | Sewing machine plus serger route | A serger alone leaves general tasks uncovered. |
Translate project size into machine space
For sewing and quilting, measure the space to the right of the needle, bed support and room for fabric around the machine. An extension table supports material but does not enlarge the throat opening. For embroidery, measure the design’s stitchable bounding box; the garment or physical hoop size is not the native field.
Also measure the home. A 30-pound embroidery station may need permanent placement, while a light machine used at classes needs a protective cover and manageable accessory system. Carriage travel, power access and storage are part of capability because a machine that is difficult to set up may be used less.
Value controls by repetition
Count how often the user will adjust speed, pivot with the needle down, cut threads, make buttonholes, change stitch width or handle a bobbin. A small convenience repeated hundreds of times can matter more than a rare decorative feature. Conversely, electronics add no value when the user strongly prefers direct controls and never uses the automation.
Build a complete ownership budget
Include the machine, exact useful feet, table, cover, hoops, stabilizer, needles, bobbins, thread, software where relevant, classes and expected service. Normalize seller bundles before comparing. An accessory pictured in one listing may be optional, promotional or incompatible with another market version.
Check voltage, return policy, warranty exclusions, dealer route and local technician capability. A lower purchase price can be poor value if an essential foot or support route is missing. A premium model is also poor value when its extra field or automation remains unused.
Use evidence without turning reviews into statistics
Exact-model manuals verify capabilities and limits. Supplied owner reviews can reveal setup friction, contradictory material experiences, arrival problems and support patterns. They cannot establish a failure rate when the sample is self-selected and conditions differ.
Look for a repeated question that affects your project, then turn it into an acceptance test. If owners mention low-speed pedal difficulty, test controlled starts. If buttonholes are inconsistent, repeat them on stabilized intended fabric. If transfer causes friction, send a compatible custom file before the return deadline.
Create a pass/fail sheet before checkout
- Write five non-negotiable tasks. Use the project map and name the exact operation.
- Attach one verification to each task. For example, repeat a buttonhole, cross a seam junction or transfer a known file.
- Add package checks. Model, voltage, feet, hoops, cover and condition must match the exact offer.
- Define stop conditions. Hard jams, strikes, damaged arrivals or missing required capability fail the test.
- Schedule the test window. Complete every mode and accessory while return and support options are open.
Score the sheet with pass, conditional pass or fail rather than one overall number. A machine that fails a non-negotiable buttonhole, field or workspace requirement should not recover through decorative stitches or a low price. A conditional pass should name the additional foot, table, class or setup needed and include its real cost before the decision is made.
Keep the sheet after purchase. It becomes an onboarding plan for the first week and a record if support is needed. Test required capabilities before optional exploration, because return periods can close while the buyer is still browsing stitch menus. The goal is not to prove that the machine can do something impressive; it is to confirm that it completes the work it was bought to do.
Begin commercial research with the relevant shortlist: best computerized sewing machines, best quilting machines, or beginner embroidery machines. Use those pages only after the project sheet defines what “best” must mean.
For mixed garment, decorative and quilting decisions, compare the Singer 9960 Review: Deep Stitch Choice With Real Quilting Utility, Singer 9985 Review: Color-Touchscreen Depth With Setup-Sensitive Automation, Singer C7250 Review: Practical Quilting Controls With Cutter Concerns and Singer C5980Q Review: Quilting Controls With Early-Hardware Warnings by the controls and workspace the project will actually use.
If the project must fit a very small sewing space
The mini versus full-size comparison connects storage needs to seam requirements, stopping control and working room. The mini-machine shortlist is a narrower route for occasional light repairs; the mini setup guide covers the first repeatable seam.