To use a mini sewing machine, first match its model to the correct instructions, prepare the permitted power arrangement, thread the upper and lower paths, and test a short seam on suitable scrap. Do not assume all minis share a needle-threading direction or bobbin rotation. Similar-looking machines can require different setup.
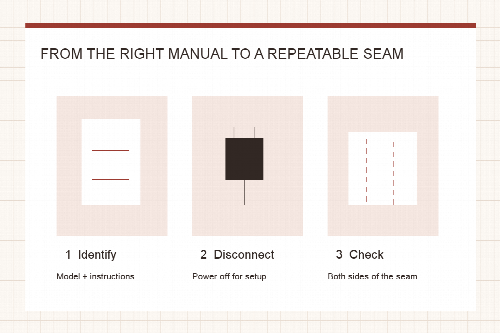
- Identify the machine. Use the label and matching manual, not just the brand or color.
- Prepare it without power. Disconnect the adapter and remove batteries when threading or changing a needle, as the exact instructions require.
- Follow both thread paths. Trace the upper route and insert the lower bobbin using the documented directions.
- Sew a small controlled sample. Use an appropriate scrap, a documented basic stitch and a manageable selected speed.
- Check and repeat. Inspect both sides, change thread and prove that you can reproduce the result.
Confirm the controls before connecting power
Find the operating button, speed selector and pedal connection. A light switch is not necessarily the main operating switch, and a button labeled on/off may start sewing immediately. Magicfly’s Mini manual documents that immediate-start behavior and says to use the button or pedal rather than both at once.
Use the specified power supply. The Rxmeili B08SCC5JH7 listing and blue Ninonly listing explicitly warn against adapter and battery operation together. A machine with an adapter socket is not necessarily rechargeable. Do not infer battery capability for a purple Ninonly or Stoigeld just because another mini uses AA cells.
Check the adapter’s actual input and output markings against the machine’s requirements. A connector that fits does not establish electrical compatibility. If the included adapter is missing, damaged or wrong for the market, resolve that with the seller before operating the machine.
Set up a stable, visible working area
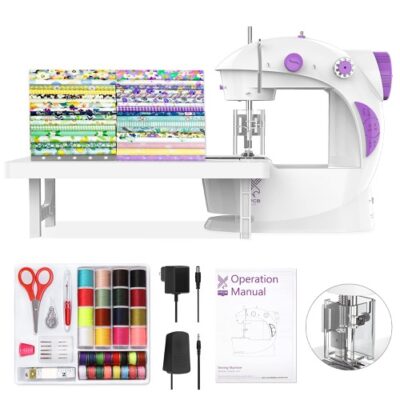
Place the machine on a firm surface with the pedal where your foot can release it easily. Keep the cord from pulling the machine toward the edge. Fit any extension table according to the instructions and check its legs before resting fabric on it. Small tables add support; they should not carry a load that makes the machine shift.
Have the correct needle, bobbin and suitable thread ready. Do not assume a generic bobbin is correct because it drops into the compartment. If the machine arrived prethreaded, photograph the route as a reference, but verify it against the manual rather than treating the factory arrangement as infallible.
A model-specific example: Magicfly’s upper and lower paths
The following points apply to the Magicfly Mini illustrated in its brand-hosted manual. They are not instructions for every mini or for Magicfly’s separate 12-stitch models. Match the diagrams to the machine in front of you before applying them.
On a narrow screen, scroll across the table to compare all columns.
| Magicfly manual checkpoint | Documented detail | Where to check |
|---|---|---|
| Upper side bobbin holder | Its illustrated unwinding direction is counterclockwise. | Printed page 3 |
| Needle eye | The thread goes left to right through the needle. | Printed page 4 |
| Lower bobbin | The illustrated lower bobbin unwinds clockwise. | Printed page 5 |
| Bobbin winding preparation | Remove both sewing threads before winding as instructed. | Printed page 4 |
The opposite directions for the upper holder and lower bobbin show why “all bobbins go counterclockwise” is a poor rule. Use the complete route in the manual, including its guides and tension path. The table above is a set of checkpoints, not a replacement for the full illustrated sequence.
For a different model, obtain its own equivalent directions. Our general sewing-machine threading guide explains the components involved, but it does not override a mini’s specific needle direction, holder design or bobbin placement.
Make the first seam easy to interpret
Use suitable stable woven scrap and the manual’s basic stitch settings. Keep the work small enough to rest comfortably on the bed or table. Start with the lower selected speed if the machine provides one, and guide gently rather than pulling the fabric through. Stop if the machine binds or the needle strikes a part.
Inspect the top and underside. A tidy upper line with a nest underneath is not a successful seam. Check for loops, repeated missing stitches and thread that pulls free unexpectedly. Keep the first successful sample with a note of the needle, thread and settings so you have a baseline for later changes.
Seam finishing is also model-specific. The Magicfly Mini has no reverse. Machines with reverse still require the appropriate stitch and documented sequence. Choose a suitable way to secure the actual construction rather than assuming that switching the power off locks the seam ends.
If the first sample fails
Stop and identify what happened: no powered movement, needle movement without stitches, or a seam that forms and then tangles. The not-stitching guide separates those symptoms and explains what to record before seeking support. Avoid changing several settings at once.
Disconnect power before inspecting the needle area. Abnormal heat, damaged wiring or failure to stop requires discontinuing use and seeking help, rather than another practice seam.
A finished sample is the starting point for your first repair
You are ready to move from practice to a small repair when you can thread the exact machine, sew a balanced sample, remove the work and secure the ends using its matching instructions. A neat factory-threaded sample alone does not show that you can repeat the process after a thread change.
Keep the successful scrap as a reference. If the next attempt fails, identify what changed and follow the symptom-specific checks rather than adjusting several controls together. Persistent failure after the documented setup calls for support; it is not a reason to force fabric through or keep experimenting on an important garment. If you are still choosing a machine, the mini shortlist covers compact options. When access or working room is the obstacle, the mini versus full-size guide helps you decide whether a different format would suit the work.