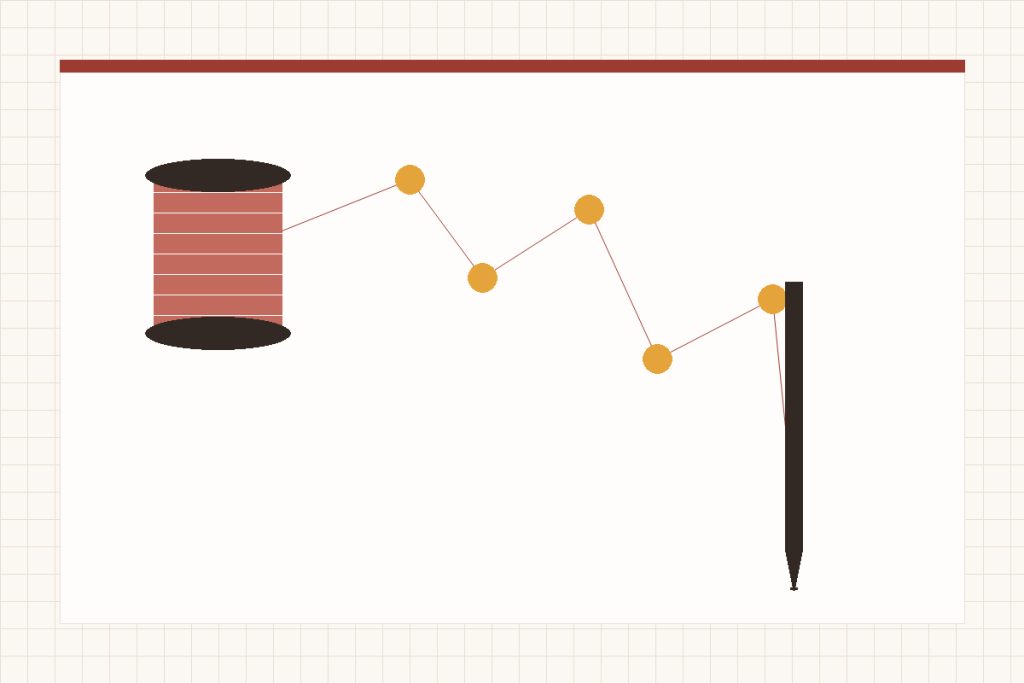
If you are learning how to thread a sewing machine, begin with one rule: use the exact manual and complete the entire thread path with the presser foot raised. The thread must pass through the model’s guides, tension system, take-up lever and needle-bar guide in the documented order. A machine can look threaded while one hidden guide is still missing.
Confirm the machine before touching the spool
This guide covers ordinary domestic lockstitch machines at a general level. Embroidery-only machines, sergers, coverstitch machines, handheld tools, vintage machines, industrial-style specialists and true industrial equipment may use different needles, bobbins, guides or threading sequences. Use their exact instructions instead of adapting this route.
Find the model number on the machine rather than relying on a family name printed on the cover. Match that model to the correct manual and market version. The manual decides whether the needle threads front to back, side to side or through an automatic threader, and it specifies how the bobbin is wound and inserted.
- Exact model number and matching manual
- Correct needle system and a straight, fully inserted needle
- Correct bobbin class—not merely a bobbin that fits in the opening
- Good-quality all-purpose thread appropriate for the test fabric
- Two layers of stable woven scrap fabric
- Presser foot, power state and handwheel position set as the manual requires
Prepare the thread path so the tension system can engage
Turn the machine off whenever the exact manual requires it for threading or when hands will be close to the needle. Raise the presser foot before routing the upper thread on machines whose instructions use that position. On many domestic machines, raising the foot releases the tension discs so the thread can settle between them; the exact manual remains the authority for your model.
Raise the needle and take-up lever to the documented threading position. This is usually done with the needle-position control or by turning the handwheel in its permitted direction. Do not rotate a reluctant handwheel by force. A hard stop, grinding sound or metal strike is a reason to stop and investigate with the manual or a technician.
Route the upper thread without skipping a numbered point
- Place the spool as documented. Use the correct spool pin position, cap and orientation. A loose or incorrect cap can interfere with smooth delivery.
- Enter the first guide. Follow the printed arrows or manual diagram instead of taking the shortest visual route.
- Seat the thread in the tension path. Keep the presser foot in the documented position and guide the thread firmly enough to enter the channel without pulling hard.
- Catch the check spring or lower turn. Follow the model’s path around the bottom of the channel; do not invent a shortcut across the faceplate.
- Thread the take-up lever. Confirm visually or by touch that the thread passes through the lever opening in the stated direction.
- Use every needle-bar guide. The last small guide controls the approach to the needle and is easy to overlook.
- Thread the needle in the specified direction. Leave the tail length recommended by the manual or use the built-in threader only as instructed.
After threading, hold the upper thread lightly and pull several inches through the needle. It should move without catching, shredding or jumping out of a guide. Lowering the presser foot may create a noticeable increase in resistance on machines where the tension discs close in that position. Treat this only as a route check, not a calibrated tension test.
Wind and insert the exact bobbin
Among older mechanical models, the Necchi EV7 and H Class E20 use removable bobbin cases; the Brother BM3850 has a quick-set top bobbin. For a Brother JX3135F, also check the model-specific notes in its shared manual rather than assuming every illustrated feature is included.
A bobbin that appears similar can have a different height, curve or center design. Use the class and material specified for the exact machine. Wind it through the documented bobbin-winding guides so thread lays evenly across the width. A soft, lopsided or loosely wound bobbin can create symptoms that resemble upper-thread trouble.
Insert the bobbin in the documented direction and draw the thread through the case or tension channel exactly as shown. Top-loading and front-loading systems do not share one universal clockwise or counterclockwise rule. Do not choose direction from a generic video when the manual provides a diagram.
Confirm the thread enters the slot
The cover may close even when the thread has not reached the bobbin tension path.
Seat the case completely
Confirm the case orientation and latch procedure before closing the free-arm area.
Do not adjust the bobbin screw
Routine first threading should not include an unsupported tension-screw change.
Bring up the bobbin thread only when the model requires it
Some machines ask the user to hold the upper thread and turn the handwheel so the needle catches the bobbin thread. Others use a quick-set path that cuts or positions the bobbin tail under the plate. Follow the exact procedure. Do not pull apart the needle plate merely because another model uses a different pickup method.
If bringing up the thread, hold the upper tail without pulling it tight. Complete the documented needle cycle, then draw the loop up and place both tails in the required starting position. If the needle does not pick up the bobbin thread after a correctly completed cycle, stop and recheck bobbin seating, needle insertion and upper threading rather than repeatedly forcing the handwheel.
Sew a controlled first seam
Use two layers of stable woven scrap, a straight stitch and the manual’s normal baseline settings. Use different colors in the needle and bobbin if compatible thread is available; this makes each path easier to identify. Hold or position the thread tails only as the manual directs, lower the presser foot and sew slowly for several inches.
Inspect both sides. A balanced seam has orderly stitches without loose loops, repeated skipped penetrations or a nest at the start. The two colors may show slightly at needle holes depending on fabric and thread; do not chase a perfectly invisible lock point by changing tension after one short sample.
Read the first failure before touching a dial
| What you see | First reversible check | Why |
|---|---|---|
| Loose loops underneath | Rethread the upper path with the presser foot raised | The upper thread may have missed the tension discs or take-up lever. |
| Loose thread on top | Remove and reseat the bobbin by the exact diagram | The bobbin thread may not be in its tension path. |
| A nest at the first stitches | Recheck tail position and presser-foot state | Uncontrolled tails or sewing with the foot raised can create an immediate tangle. |
| Skipped stitches | Install a fresh correct needle fully and in the right direction | A bent, dull, wrong-system or incorrectly installed needle can miss loop formation. |
| Thread breaks at the needle | Inspect needle eye, route and spool delivery | A burr, wrong size or snag can damage the moving thread. |
Change one variable at a time and sew another labeled sample. Start by restoring the documented threading baseline. Do not compensate for a missed guide with a high tension number, and do not make bobbin-case screw adjustment a beginner troubleshooting step unless the exact service documentation explicitly authorizes it.
Know when threading is no longer the likely problem
Stop if the handwheel remains hard, the needle repeatedly strikes metal, the hook area grinds, thread becomes trapped below a plate you are not authorized to remove, or a correct needle and exact rethreading do not restore normal stitch formation. Smoke, sparks, electrical heat or a burning odor require immediate disconnection and qualified service.
When the route works, practice it again from a completely unthreaded machine. Say each checkpoint aloud or mark it on a personal card: spool delivery, first guide, tension channel, take-up lever, needle-bar guide, needle and bobbin path. Repetition turns a diagram into a reliable sequence and makes a future missing step easier to identify. Keep the card model-specific so it never overrides a different machine’s manual.
Save a photograph of the successful thread path and keep the balanced sample with the thread, needle and setting notes. That personal baseline is more useful than remembering a dial number. For a mechanical-machine example, the Janome HD1000 and HD3000 comparison shows why bobbin access differs even within one brand. You can also browse mechanical sewing machines.