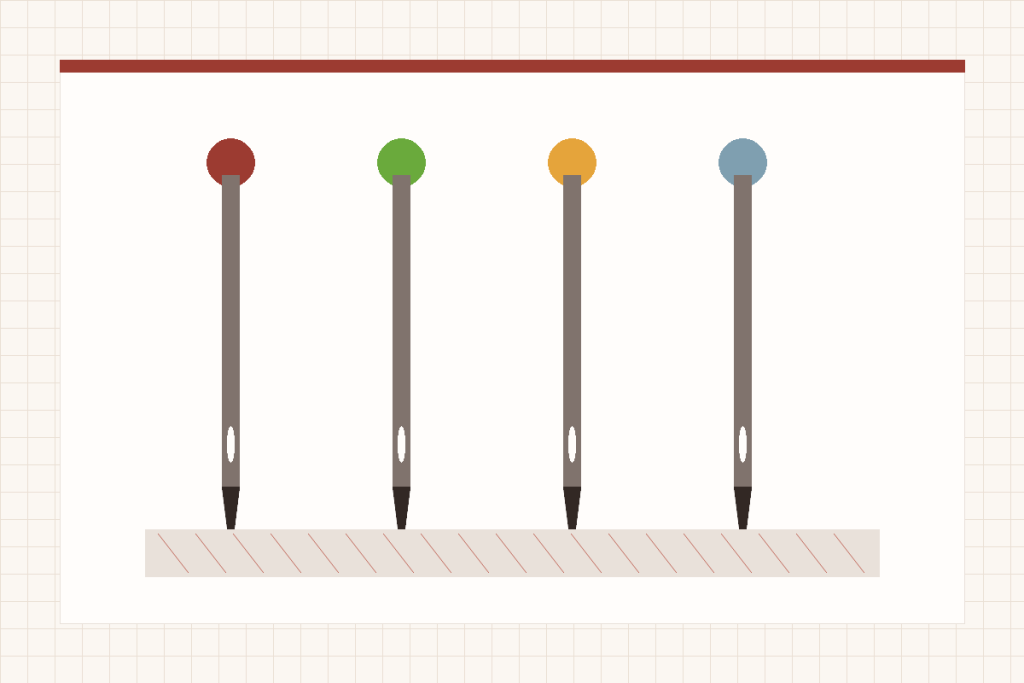
This sewing machine needle guide uses three decisions in order: verify the needle system your exact machine accepts, choose a point designed for the fabric construction, and choose a size that works with both fabric and thread. A needle labeled for denim or stretch is not automatically compatible with every machine.
Start with the system, not the fabric
The needle system defines dimensions such as shank, length and scarf position that let the needle align with the hook. Many household machines use a common domestic system, but vintage, industrial, overlock, coverstitch, embroidery and specialty machines may not. A needle that slides into the clamp is not proof of correct compatibility.
Read the exact manual and confirm the stated system, permitted size range and installation direction. Check whether a specialty twin, wing or metallic needle is allowed. If the manual conflicts with a generic package or online chart, follow the exact machine documentation and current compatible-accessory information.
Buying replacement needles for a mini or patcher
Do not order a needle simply because the packet says “mini sewing machine” or “heavy duty.” SCHMETZ identifies 130/705 H as common in household machines, while explicitly advising owners to use the system specified by their machine manufacturer. That common system is not confirmation for an unidentified mini, handheld or manual patcher.
A size such as 90/14 tells you a thickness designation; it does not replace the system. SCHMETZ’s package guide distinguishes those two markings. Keep the original labeled spare packet when available, but do not treat an unmarked needle that fits the clamp as a verified substitute.
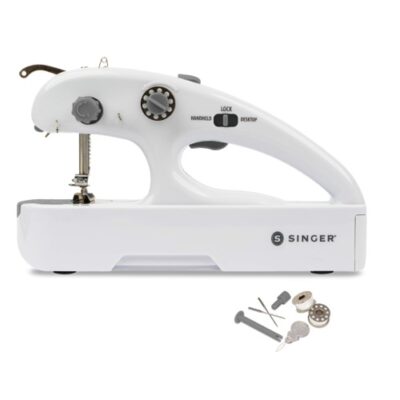
This matters particularly for the DODOQ manual patcher: its repair-arm format does not establish a domestic needle system. Likewise, the twin-needle terminology guide explains why two ordinary needles and a purpose-made twin needle are different purchases. If compatibility remains unclear, obtain the exact replacement specification before sewing.
Choose the point for how the fabric is built
Universal or sharp-family starting point
Choose based on weave density, finish and the needle maker’s guidance.
Ballpoint, jersey or stretch-family option
The point and scarf are designed to work with loops and elastic movement.
Jeans or denim-family needle
A reinforced design may improve penetration, within machine and seam limits.
Leather point only when appropriate
A cutting point makes permanent holes and is not for ordinary knits or wovens.
“Universal” describes a broad compromise, not a perfect point for every material. A tightly woven microfiber may respond better to a sharper point; a stretchy synthetic may need a stretch design rather than a general ballpoint. Specialty needles should solve a specific fabric/thread interaction, not serve as decoration in the toolkit.
Read the two-number size correctly
Household needle packages often show a metric NM number and a U.S. number, such as 80/12 or 90/14. The larger number indicates a thicker blade within the same system. A thicker needle is not automatically stronger for every task: it makes a larger hole, may damage fine fabric and still can deflect at a bulky seam.
Start inside the machine manufacturer’s permitted range and use the needle manufacturer’s fabric/thread guidance. Increase size only when the current eye and blade are too small for the thread or fabric, and reduce it when holes, puckering or fabric damage show that the needle is excessive.
Use a fabric-and-thread starting matrix
| Project material | Point family to investigate | Size direction | What to watch |
|---|---|---|---|
| Fine stable woven | Universal or microtex/sharp | Smaller, with fine compatible thread | Large holes, puckering, snagging |
| Ordinary cotton woven | Universal | Middle of the permitted domestic range | Balanced seam and clean penetration |
| Jersey knit | Ballpoint/jersey | Match knit weight and thread | Runs, skipped stitches, wavy seam |
| Highly elastic synthetic | Stretch-family | Use manufacturer guidance | Skipped stitches during stretch |
| Denim or canvas | Jeans/denim-family | Increase only within limits | Deflection at seam junctions |
| Leather or vinyl | Material-specific point when approved | Match thickness and thread | Permanent holes and surface marking |
| Machine embroidery | Embroidery-family for fabric/thread | Match stabilizer and design conditions | Shredding, breaks and dense-fill distortion |
The matrix is a research route, not a command. Fabric labels do not reveal weave density, coatings, elastane content, seam bulk or thread choice. Use the exact needle maker’s current chart and the machine’s manual, then test the full seam construction rather than one flat layer.
Match the eye to the thread
Thread must pass through the eye with enough clearance to move without abrasion. A very thick thread in a small eye can shred, heat or resist tension. A very large needle carrying fine thread can make visible holes and reduce control. Specialty topstitch, metallic or embroidery needles may change eye shape or scarf design for a named thread or stitch process.
Do not choose by thread brand alone. Consider thread weight, twist, finish and intended needle recommendation. Use the same thread in the test that will be used in the project, and confirm the bobbin thread is appropriate for the stitch and machine.
Install the needle as a precision part
- Disconnect power as required. Prevent accidental needle movement while hands are at the clamp.
- Raise the needle to the replacement position. Use the documented control or permitted handwheel direction.
- Remove the old needle safely. Support it before loosening the clamp so it does not fall into the plate area.
- Orient the new needle correctly. The flat, groove and scarf direction are model-specific.
- Push it fully to the stop. A partially inserted needle changes hook relationship and can strike.
- Tighten by the documented method. Use the supplied tool and amount of force; do not improvise extra leverage.
Discard a bent needle and any needle that struck metal. Do not test straightness by sewing. A needle can be damaged without an obvious bend, and a rough eye or point can shred thread or mark fabric.
Run a scrap ladder instead of one lucky seam
Prepare the actual fabric, interfacing, stabilizer and seam-layer count. Begin with the most likely supported needle, then sew straight, zigzag or stretch samples appropriate to the project. Label the needle system, type, size, thread and settings on each sample.
- Penetration sounds clean rather than popping or striking
- No repeated skipped stitches at ordinary speed
- Thread does not shred, fray or break at the eye
- Fabric shows no unacceptable holes, runs or puckering
- The needle crosses realistic seam junctions without visible deflection
- The successful result repeats on a second sample
Use symptoms to revise one decision
Skipped stitches can point to an unsuitable point, damaged needle, wrong system, incorrect insertion or another threading/timing issue. Popping sounds can indicate a dull or unsuitable point. Shredding can reflect eye size, a burr, thread path or excessive needle heat. Large holes or pulled yarns suggest the point or size may be too aggressive.
Change one variable and compare samples. Do not jump from an 80/12 universal to the largest available denim needle while also changing thread and tension. If a correct system, fresh supported needle and documented setup still produce strikes or repeated skips across ordinary samples, stop and have hook timing or alignment evaluated.
Build a project needle record
Keep the successful labeled scrap with a note of fabric layers, thread and needle. Replace the needle when it becomes damaged, dull or reaches the interval recommended by the needle or machine manufacturer for that context; there is no universal project count that fits every fabric and speed.
Store unused needles in their labeled packages rather than loose in a pin cushion. The system, type and size markings can be difficult to identify later, and a previously used needle may have an invisible damaged point. Mark opened packages and dispose of sharp needles in a suitable rigid container. A clear inventory reduces the temptation to install an unknown needle when a project behaves badly.
The heavy-duty sewing-machine roundup shows why a label does not replace a fabric-and-needle test. For machine selection across projects, use the project-backward machine guide.