Choose a teaching setup before choosing a small machine. A beginner needs to see the needle area, reach the controls comfortably and understand how sewing starts and stops. A finger guard and a small body can help with parts of that arrangement, but they do not make powered sewing an independent activity for a child.
Start with the adult’s familiarity
The supervising adult should be able to thread the exact machine, remove the work and respond to a jam before the first lesson. Learning together can be enjoyable, but two people guessing at an unfamiliar powered mechanism is a poor starting arrangement. Read the matching instructions and rehearse the routine with suitable scrap.
Start and stop deliberately
Practice control before aiming for a long straight line. Small pedals can behave as switches.
A simple seam on manageable pieces
Choose fabric that is easy to support and a task whose result does not depend on stretch or thick intersections.
Check the physical arrangement
| Checkpoint | A useful question |
|---|---|
| Visibility | Can both people see the needle and thread path without leaning into the moving area? |
| Control reach | Does the pedal sit comfortably, with cables out of the way? |
| Fabric support | Can the learner guide the work without its weight pulling the machine? |
| Recovery | Can the adult disconnect power and rethread without forcing small parts? |
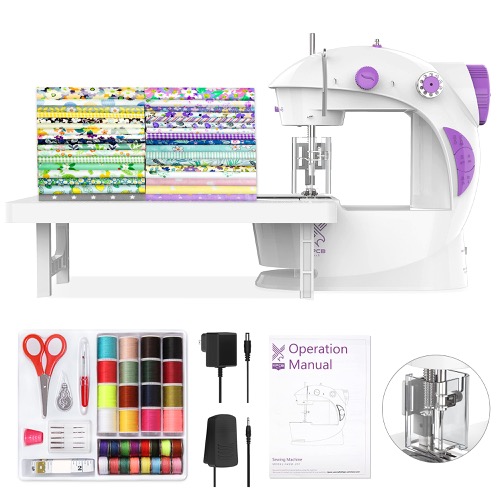
The original KPCB Mini includes a listed guard and practice squares. Those make a useful lesson starting point, but its lack of reverse remains a sewing limitation. The Magicfly Mini also requires a deliberately small project brief. Neither review establishes a universal suitable age.
Do not confuse automatic running with a broken pedal
On some minis, the selected low/high position starts powered sewing and another position enables the pedal. On other machines the arrangement differs. Establish the exact behavior rather than using a generic mini-machine video. Disconnect adapter and battery power before working around the needle.
If the machine will not stop as expected, binds repeatedly or has a damaged needle, pause the lesson and resolve the fault. Frustrating or abnormal operation is not a test of the child’s patience or ability.
Choose a teachable setup, not the smallest machine
The useful first machine is one an adult can set up correctly and help the child start, stop and guide comfortably. Small size, a bright color or a finger guard does not establish that the controls suit that learner. Follow the manufacturer’s age guidance and supervision requirements.
Start with a small, manageable project on suitable practice fabric. If the needle area is too cramped or the available speed too difficult to control, reconsider the machine before making the lesson harder. A larger beginner machine may be the better teaching option when its actual controls are more accessible. Compare the controls in the beginner-machine shortlist with the space and handling tradeoffs in the mini versus full-size guide before choosing a teaching setup.