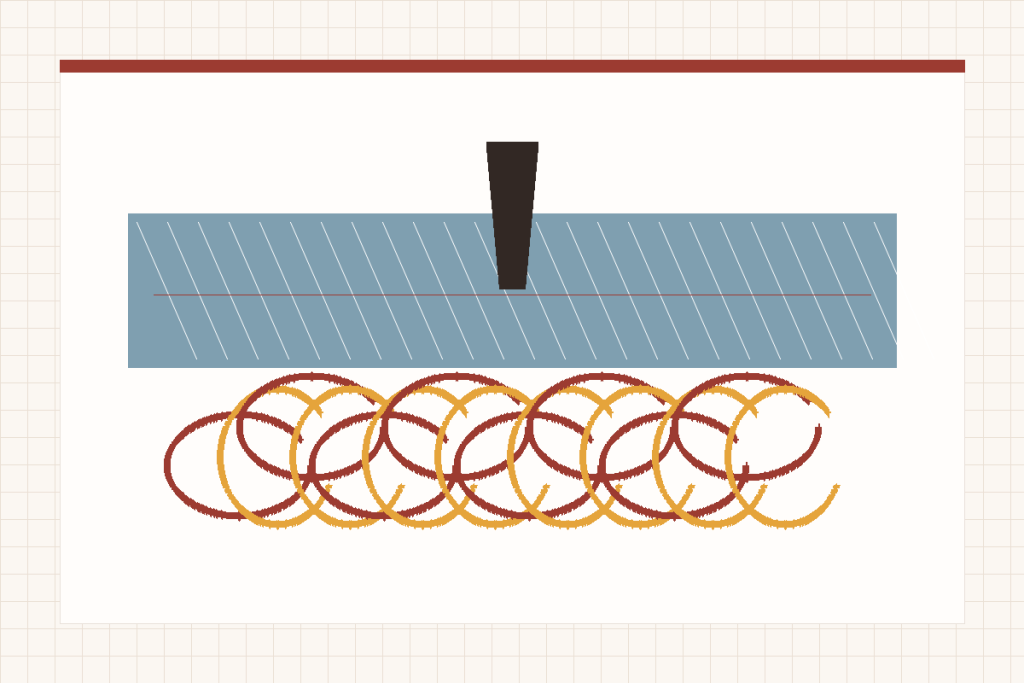
Bobbin thread bunching underneath the fabric often means the upper thread is not under proper control. The name “bobbin thread problem” can send beginners to the wrong side of the machine. Stop sewing, power down as the manual directs, remove the work without force and restore both thread paths before changing tension.
Clear the jam without creating a second problem
Do not pull the fabric backward while the needle is trapped. Stop the machine, unplug it when required and raise the needle only if it moves normally in the permitted direction. Cut accessible threads above the fabric, lift the presser foot and remove the work gently. If the handwheel is hard or the fabric remains locked, use only the plate or bobbin access the exact manual authorizes.
Photograph the jam before removing every thread. Note whether the tangle sits below the fabric, around the bobbin case, at the seam start or after several correct stitches. The stage at which the problem appears helps distinguish a threading baseline error from a snag, an empty bobbin, a changing seam thickness or an internal fault.
Perform the three-minute baseline reset
- Remove the upper thread completely. Cut near the spool and pull it out in the direction specified by the manual rather than dragging knots backward through the tension system.
- Raise the presser foot and take-up lever. Put the machine in its documented threading position.
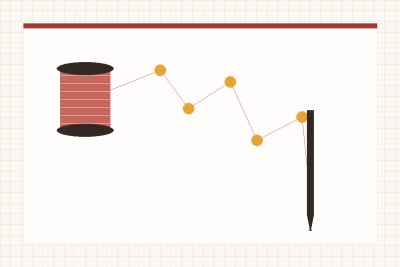
- Rethread from the spool. Use every guide, seat the tension path and visibly catch the take-up lever.
- Remove and inspect the bobbin. Confirm the exact class, even winding, insertion direction and tension-channel route.
- Install a fresh correct needle. Insert it fully and orient the flat or scarf exactly as the manual shows.
- Restore normal settings. Use the manual’s ordinary starting stitch and upper-tension baseline rather than the last experimental numbers.
- Test on stable scrap. Use two layers, a moderate speed and one change at a time.
This reset solves many bunching incidents because it removes several reversible setup errors without altering the machine. It also creates a known baseline for the next branch. If the symptom changes, record what changed instead of immediately turning another dial.
Include the presser foot in that baseline. Confirm it is attached securely, appropriate for the selected stitch and lowered before the test begins. A loose foot, unsuitable opening or raised-foot start can change fabric control and thread behavior. Check that the stitch width will not drive the needle into the foot, then turn one permitted handwheel cycle before using the motor.
When the nest appears under the fabric
Check whether the upper thread entered the tension system
Loose upper thread can be pulled below the plate and wrapped into a nest. Rethread with the presser foot raised and verify the take-up lever. Lower the foot before sewing. Do not assume a high tension number will seat a thread that missed the discs.
Watch the thread through one slow cycle
Turn the handwheel only in the direction permitted by the manual and observe whether the take-up lever controls the thread. Check that the thread remains in the needle-bar guide and does not snag on the spool cap, rough spool edge or accessory. A thread that jumps free can create intermittent bunching after an apparently correct start.
Check tails and presser-foot state
A loose start or raised foot can feed uncontrolled thread below the work.
Look for a snag or escaped guide
The route may begin correctly and then lose control.
Reduce drag, not tension blindly
A stalled feed or deflected needle can change stitch formation.
When loose thread shows on top
Remove the bobbin and confirm it is the specified class. Inspect winding: thread should be firm and even, not soft, coned to one side or crossed by a loose tail. Insert it in the documented direction and draw it through every slot or spring shown. A cover can close while the thread is still outside its control path.
For a front-loading system, confirm that the bobbin sits correctly in its case and that the case is fully seated. For a top-loading system, confirm the thread follows the channel under the cover. Clean only the accessible lint described by the manual; do not pry, bend a spring or turn a bobbin-case screw during this baseline check.
Branch by when the bunching begins
| Timing | Likely first checks | Verification |
|---|---|---|
| At the first stitch | Tail handling, foot lowered, needle fully raised before start | Hold or place tails exactly as the manual directs and retry. |
| After a few correct inches | Spool snag, take-up thread escape, uneven bobbin, thread near empty | Watch delivery while sewing slowly. |
| Only during reverse | Exact reverse procedure, fabric feeding and needle condition | Test reverse on plain two-layer scrap. |
| Only on one fabric | Needle point and size, thread/fabric match, stabilizer, seam thickness | Use a controlled scrap of the same construction. |
| After a bobbin change | Bobbin class, insertion direction, channel and cover | Reinstall using the exact diagram. |
| After needle breakage | New correct needle, plate/hook strike marks and free handwheel | Stop if metal strikes or rough movement continue. |
Do not use tension as the first eraser
Upper tension is intended to balance a correctly threaded system. It cannot compensate reliably for a missed take-up lever, open presser foot, wrong bobbin, bent needle or trapped thread. Restore the normal documented setting before comparison samples, then change only one supported variable and label the result.
A bobbin tension screw is even less suitable as a casual fix. Unless the exact manual authorizes owner adjustment, leave it alone. If authorized for a specialist task, mark the baseline and use the documented method. Otherwise, a technician can determine whether the spring, case, hook timing or another internal condition is involved.
Check needle, thread and fabric as one system
A dull, bent, damaged or wrong-system needle can deflect and fail to form a consistent loop. Choose the exact needle system first, then a point and size suitable for the fabric construction and thread. Install it fully and in the documented orientation. Do not keep a needle that struck the plate or hook.
Very heavy thread in a small needle eye can shred or resist movement; very fine fabric may need a more suitable needle and stabilizing approach. These are selection problems, not invitations to force tension. The sewing machine needle guide provides a project-based selection process.
Verify the repair with labeled samples
- Use the same stable fabric, thread, needle type and stitch for each sample
- Write the change on the sample before sewing the next one
- Inspect the first stitch, middle of seam, reverse section and both fabric sides
- Repeat the successful seam rather than accepting one lucky pass
- Return to the last known baseline if a change makes the symptom worse
A successful correction should repeat without loose loops, a starting nest, skipped penetrations or harsh sound. Save the sample and a photograph of the thread path. If the problem returns only after the machine warms, changes speed or crosses a junction, record that timing for the technician.
Stop after the reversible checks are exhausted
Seek qualified service when correct upper threading, exact bobbin seating, a fresh correct needle, accessible cleaning and normal settings do not restore repeatable stitches. Stop sooner for a seized handwheel, repeated needle strikes, grinding, visible broken parts, smoke, sparks, electrical heat or burning odor.
Bring the technician useful evidence rather than a bag of tangled thread alone. Record whether the nest forms immediately or after several inches, which side shows loose thread, the exact needle and bobbin, fabric layers, stitch selection and every reversible check completed. A short video of sound and movement can help when it is safe to record from outside the machine. Do not operate a machine with an electrical or hard-jam stop condition merely to capture video.
If the machine is new, preserve packaging and seller communication while running the baseline tests. Repeated bunching after exact setup can be a valid return-period issue even when one isolated seam succeeds. A replacement decision should be based on repeatable normal operation, not the amount of time already spent troubleshooting.
Do not remove housings, change hook timing or continue sewing to “work through” the jam. The Singer 4423 review illustrates why threading sensitivity belongs in a return-period test, while the threading guide restores the complete route from the spool.