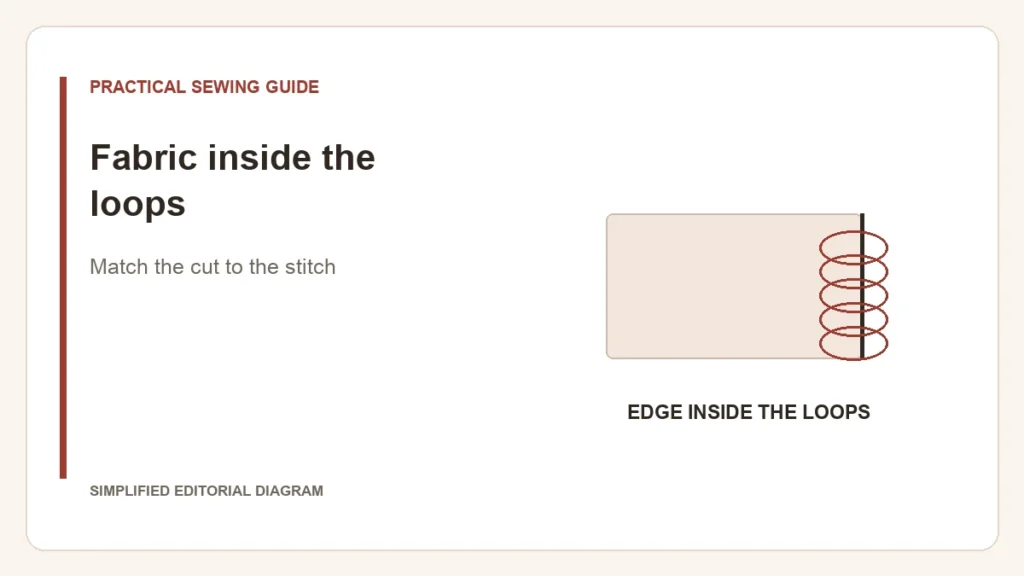
When loops extend beyond a freshly trimmed edge, the stitch may be surrounding more space than the remaining fabric occupies. Tension is not the only possible cause. Cutting width changes the fabric left inside the overlock formation; stitch configuration also matters.
Look at the edge in cross-section
| Sample appearance | Question to investigate |
|---|---|
| Loops hang beyond the fabric edge | Is too little fabric left inside the chosen overlock formation? |
| The fabric edge curls inside the stitch | Is too much fabric being crowded into the selected formation, or is the stitch setup different from the intended flat finish? |
| Thread balance is uneven across the faces | Is the exact needle/looper threading and tension setup correct? |
The Janome 1200D manual illustrates looping and tunneling in its cutting-width section. It explains opposite width adjustments for those conditions. Its dial direction and settings are model-specific; use your own manual to identify how the knife position changes.
Keep the comparison controlled
- Restore the documented ordinary-overlock setup for the thread configuration you are using. Do not diagnose a deliberate rolled edge as a failed flat seam.
- Sew two layers of the project fabric while trimming a consistent small allowance.
- Inspect where the edge sits inside the loops. Make only the documented adjustment associated with that observation.
- Keep the before and after samples so you can see whether the edge fit improved without spoiling thread balance.
Changing needle position or switching between thread formations can change the stitch’s relationship to the edge. Record the whole setup rather than a single width number. The three- versus four-thread guide explains the different seam jobs.
If the edge is rough before the loops cover it, investigate the cutting problem first. If the complete seam waves along its length, investigate fabric feeding. Width, trimming quality and longitudinal stretching are separate observations.