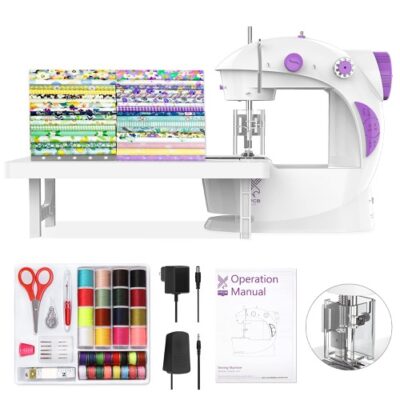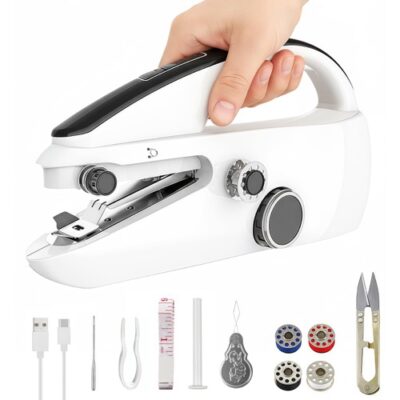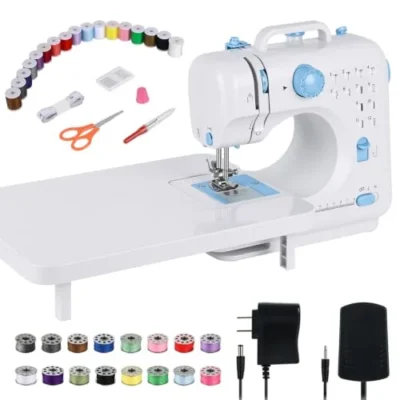
Before following a handheld threading tutorial, identify the exact machine. Some instructions concern an upper thread and a lower bobbin; others concern a different stitch mechanism. A similar body shape or brand name is not enough to make their thread routes and finishing procedures interchangeable.
Identify what is making the stitch
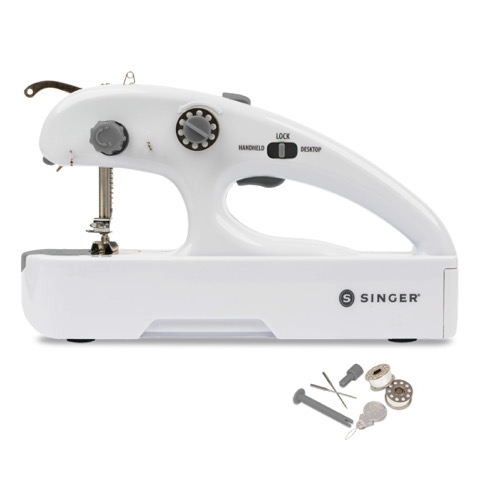
Singer Stitch Quick+ has a documented two-thread system. Its similarly named Stitch Sew Quick is a different product. For the white Ninonly B0FMFF7H27, the listing material checked does not establish the exact stitch construction. An owner’s tie-off complaint cannot supply that missing specification.
| Before you begin | Why it matters |
|---|---|
| Match the machine label to the instructions | Different models can have different needle directions and routes. |
| Identify upper and lower threads, if present | A moving needle cannot form the intended two-thread seam without catching the lower thread. |
| Find the matching seam-removal instructions | Pulling fabric against trapped thread can bend a needle or undo the work. |
Make setup a powered-off task
Disconnect power before working around the needle or threading path. If batteries are installed, remove them too. Identify the operating and lock controls before reconnecting power. A lock label is not a substitute for disconnecting a machine while your fingers are in its working area.
Use the correct needle and supplied model instructions. Do not straighten and reuse a bent needle or force a handwheel that will not turn normally. If a newly delivered unit has loose parts, damaged controls or persistent binding, resolve that condition with support before attempting a garment repair.
Follow one route from beginning to end
- Locate the exact diagram. Keep it beside the machine and match each illustrated guide to the physical part.
- Check spool or bobbin orientation. Direction can differ between the upper holder and lower compartment.
- Follow every guide in order. Do not skip a small guide because the thread appears to reach the needle without it.
- Thread the needle in the specified direction. The side and orientation are model-specific; a generic front-to-back instruction may be wrong.
- Bring up the lower thread where required. Use the matching procedure before assuming that tension is the cause of a missing seam.
The official Quick+ manual includes separate illustrations for these tasks. Its upper thread unwinds counterclockwise, while the inserted lower bobbin is shown clockwise. This is a Quick+ example, not a direction prescription for every handheld. Use the diagrams to establish the orientation relative to the actual machine.
Test the whole seam, including removal
Choose suitable scrap representing the intended light repair. Identify the stopping behavior first. In Quick+ handheld mode, releasing the operating button stops sewing; desktop mode requires pressing and releasing it again. Do not assume that letting go always stops every mode.
Inspect both sides of the sample. Look for a continuous seam rather than only needle holes, loose thread sitting on the surface or a tangled underside. Then remove the fabric and finish the ends using the exact instructions. The Quick+ manual explains releasing upper thread before drawing the work away; pulling against trapped thread is not a useful test of strength.
Do not solve every problem with the tension dial
A missed guide, absent lower-thread pickup and a poorly fitted bobbin can resemble tension trouble. Check the route and placement first, then follow the manual’s scrap-test adjustment procedure. Change one thing at a time so that you know which step improved the result.
Abnormal heat, a burning smell or failure to stop is a different category of problem. Discontinue use and seek support. The Singer owner sample includes such unverified accounts; this guide does not reinterpret them as instructions to try different batteries or keep sewing until the mechanism loosens.
Finish and remove the sample before trusting the repair
Successful threading means more than a moving needle: the machine must form a seam, release the fabric by the correct method and leave secured ends. Follow the instructions for the exact mechanism. Singer Quick+ has a lower bobbin; do not transfer its procedure to an unidentified handheld or assume every handheld needs the same tie-off.
Before using a garment, repeat the process on suitable scrap after changing thread. If the seam will not form or remain secured, record where the sequence fails and seek model-specific help. A failed stop control or abnormal heat calls for taking the unit out of use, not another tension adjustment. If handling remains awkward, use the handheld versus mini guide to reconsider the working position. The Quick+ review and Ninonly handheld review explain which setup and seam-finishing concerns apply to each model.