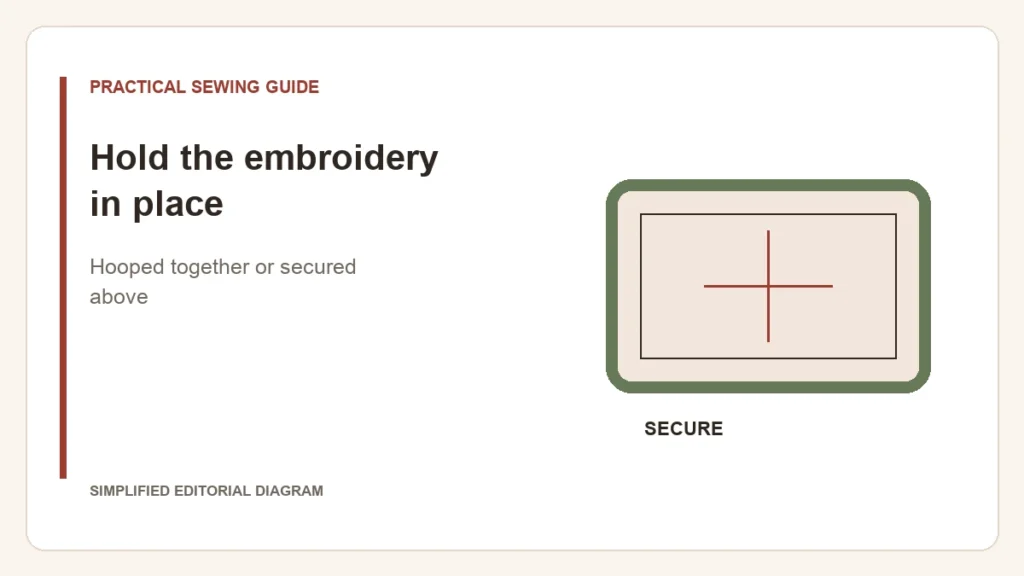
Floating means the fabric sits above stabilizer held in the hoop, rather than being clamped with it. The fabric still needs to be secured. Simply resting a garment on the hoop leaves it free to shift while the design stitches.
What is preventing normal hooping?
| Constraint | Why floating may be considered | What remains to solve |
|---|---|---|
| A small item or an edge cannot reach the hoop all around | The stabilizer can be hooped independently | The item must be secured within the usable stitching field |
| The fabric is vulnerable to hoop marks | Avoiding direct hoop pressure may help | Adhesive, basting or other securing methods must also be suitable for the surface |
| The assembly is awkward or bulky | A different holding method may improve access | The machine still needs safe clearance and unrestricted carriage movement |
The BERNINA placement and hooping lesson distinguishes hooping both layers from floating over hooped stabilizer. Treat that as a holding-method choice, not an increase in the machine’s material capacity.
Test the holding method, not just the design
- Use the same fabric and stabilizer planned for the item.
- Choose a securing method permitted by the material and machine instructions. Test any adhesive or marking product away from the finished area first.
- Keep the rest of the garment clear of the moving frame and the needle path.
- Inspect whether the fabric remains aligned through a representative design, then check removal and surface appearance.
If the real concern is a lasting ring on the material, use the hoop-mark guide before choosing the attachment method. If the stitches distort the fabric after removal, reassess the supporting backing rather than assuming floating itself is the answer.
A successful choice holds the intended fabric area without shifting or damage. It also leaves enough room for the machine to move; solving the hoop grip does not solve a sleeve or bag that catches underneath.