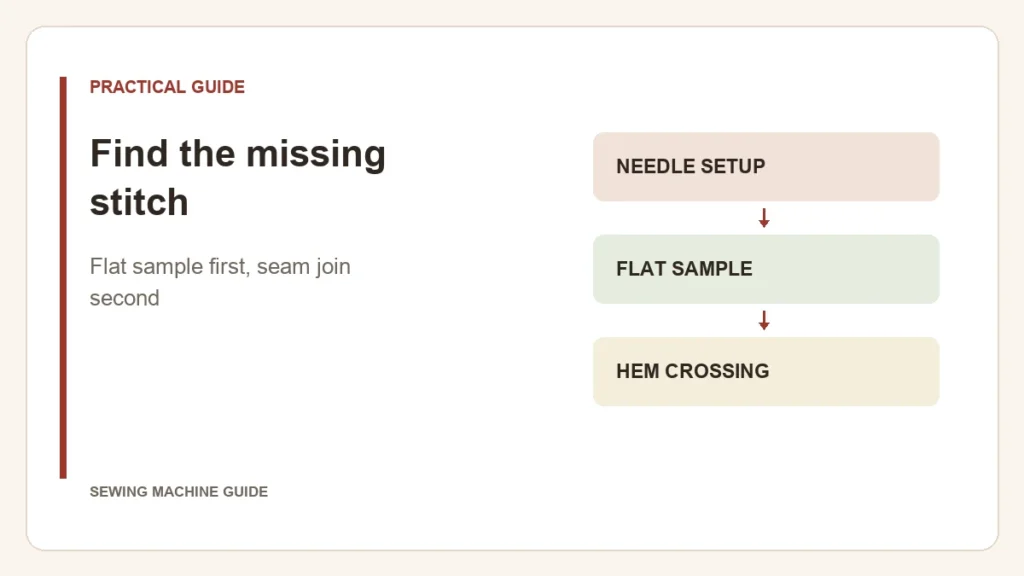
Keep the skipped sample. Its location is useful evidence: missing stitches along a plain section suggest a different starting point from a seam that skips only over a folded join. Do not discard that distinction by changing every dial at once.
Start with the plain section
- Turn off the machine before needle-area work. Check the required needle system, condition, insertion depth and orientation in the exact manual.
- Rethread in the prescribed order, including the guides for the selected needles and looper.
- Sew a simple doubled edge in the project fabric. Inspect both needle lines and the underside.
Brother’s 2340CV skipped-stitch checklist covers needles, threading, tension and pressure. Its needle specification is model-specific; it should not be copied to another brand’s coverstitch machine.
Now decide which branch you are on
The plain sample still skips
Continue the documented basic checks. If pressure or tension adjustment is permitted, change one setting and retain the labeled sample. Persistent skips after correct setup warrant service help.
The plain sample works; the join skips
Reproduce the actual side seam and hem folds. Watch the transition while keeping fabric supported. Do not pull it over the bump. The thicker construction is now the variable you need to assess.
Stop if the needle bends, breaks or strikes metal. Increasing tension is not a response to a collision.
Use the right mechanism’s troubleshooting
A coverstitch seam uses needle threads and a looper, not a domestic lockstitch bobbin. Generic bobbin-case advice therefore does not apply. Follow the model’s threading and fabric-release guidance so removing the sample does not obscure the original problem.
When contacting support, provide the model, needle designation, thread setup and whether the plain sample or only the join skips. Those observations are more actionable than “the tension is wrong.” If the machine type is uncertain, distinguish coverstitch from overlock before following a threading sequence.