Embroidery machine hoop size and embroidery area are related but not interchangeable. The hoop is the physical frame that holds fabric and stabilizer. The embroidery area is the maximum region the machine can stitch in one placement. A frame can be physically larger than the active field, and an accessory cannot override the machine’s documented movement limits.
Pass the exact-model identity gate first
Find the exact machine model, market version and current manual. Record the published maximum embroidery area in both inches and millimeters when available. Then use the manufacturer’s accessory list to identify approved hoops. A frame that clips onto a related model is not automatically safe or recognized.
- Exact model and manual revision
- Maximum native embroidery area
- Approved hoop part number
- Usable field for that hoop—not only outside dimensions
- Supported design formats and transfer limits
- Design width, height, stitch count and orientation
- Clear carriage path around the installed hoop
Translate common labels into exact dimensions
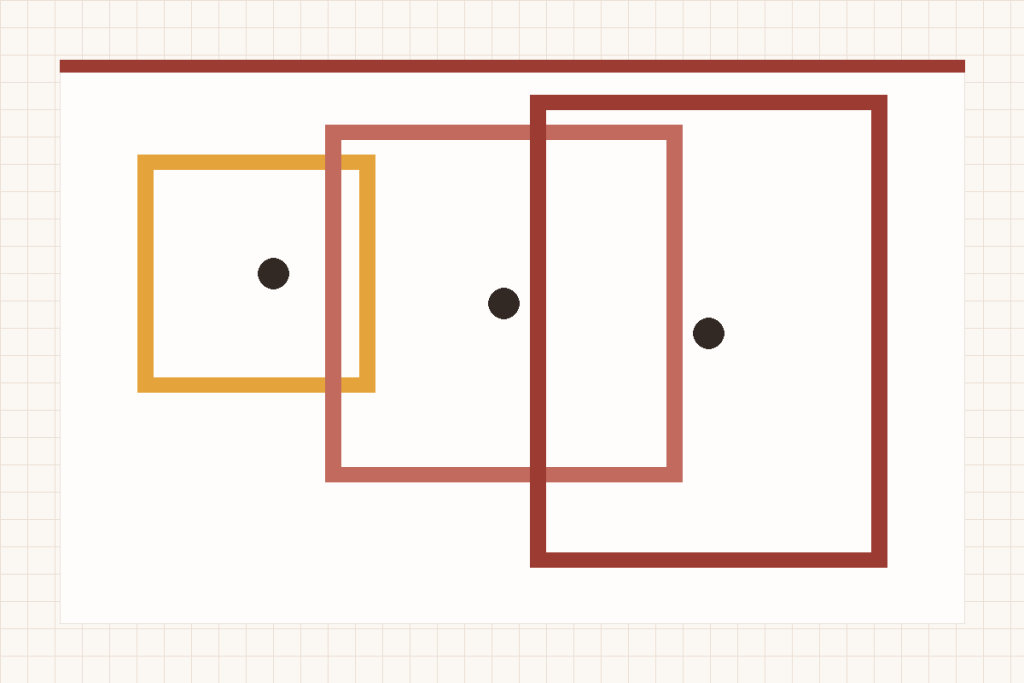
Terms such as 4×4, 5×7, 6×10 and 8×12 are convenient size classes. The actual metric field may be approximately 100×100, 130×180 or another documented value, and the converted inch label may be rounded. Use the exact limit shown by the machine or software when deciding whether a file fits.
Orientation matters. A design measuring 6.5 inches wide by 4.5 inches high may fit a 5×7 field when rotated only if the machine and file allow that orientation. The same design will not fit a native 4×4 field merely because its total area is less than sixteen square inches.
Measure the design, not the garment
A jacket back can carry a small motif, while a short name in a wide font can exceed four inches. Open the actual embroidery file in compatible software and read its stitched bounding box. Include any spacing, registration marks or required border in the measurement.
| Design condition | Outcome | Next action |
|---|---|---|
| Both dimensions fit the native field | Fit, subject to format and stitch limits | Choose an approved hoop that contains the field. |
| One dimension exceeds the native field | No continuous one-placement fit | Resize within design limits, choose another file or use a larger-field machine. |
| File is split for multi-position work | Potential repositioned fit | Follow the design and hoop instructions and test alignment. |
| Accessory hoop is larger but native field is unchanged | No field expansion | Use only the portion the machine can address. |
| Compatibility documentation is missing | Unknown | Do not buy from physical fit alone. |
Understand what repositionable hoops actually do
A repositionable or multi-position hoop lets the fabric remain framed while the hoop attaches in more than one position. The design must be prepared as separate stitch sections, and each section remains inside the machine’s native movement area. This can reduce full rehooping, but it does not turn a 4×4 mechanism into one continuous 5×7 mechanism.
Alignment is an additional task. Registration errors become visible where borders, outlines or lettering must meet. Use files designed for the exact repositioning workflow, mark fabric accurately and test on comparable scrap or inexpensive blanks before committing a valuable item.
Can software split any large design automatically?
Software may offer splitting tools, but stitch order, overlaps, alignment and hoop compatibility still require evaluation. A generated split is not proof that the finished registration will be acceptable.
Hoop the stabilizer and fabric as a system
The hoop must hold the project flat enough for accurate stitching without distorting the material or crushing a surface. Stabilizer type, fabric construction, design density and blank shape affect the method. Follow current machine, hoop and stabilizer guidance rather than tightening every fabric until it sounds like a drum.
Conventional hooping may be straightforward
Keep grain and design center aligned without stretching.
Stabilization controls distortion
Avoid stretching the fabric to fill the hoop.
A supported float or specialty method may be needed
Keep excess material clear of the carriage and needle.
Leave room for the carriage, not just the machine
A large hoop moves beyond the body footprint. Measure the complete travel path and keep fabric, thread cones, walls and furniture outside it. Support excess material so it does not pull the hoop or become trapped. Never hold the carriage against its movement.
Storage also matters. Hoops can warp or lose alignment if handled poorly, and large frames require flat protected space. Confirm replacement availability and exact part numbers before building a workflow around a rare accessory.
Use a five-line compatibility decision
- Identify the exact machine. Record model, market and current maximum field.
- Identify the exact hoop. Confirm official compatibility and its usable area.
- Read the actual design dimensions. Use width, height, stitch count and orientation from compatible software.
- Classify the result. Mark fit, no fit or unknown without guessing from outside dimensions.
- Test the complete route. Transfer, select the hoop, trace the field if supported and stitch a controlled sample.
Keep a small compatibility record for every purchased hoop: part number, approved models, usable field, outside dimensions, included template and storage location. Add one screenshot of the software recognizing it. This prevents a future physical-fit assumption and makes it easier to distinguish a hoop-selection error from a file-size error when the machine refuses a design.
The Brother PE545 vs PE900 comparison shows how 4×4 and 5×7 fields change project routing. The PooLin EOC05 vs EOC06 comparison demonstrates why one long dimension does not equal a broad large field. Browse embroidery machines only after measuring the files you expect to use.