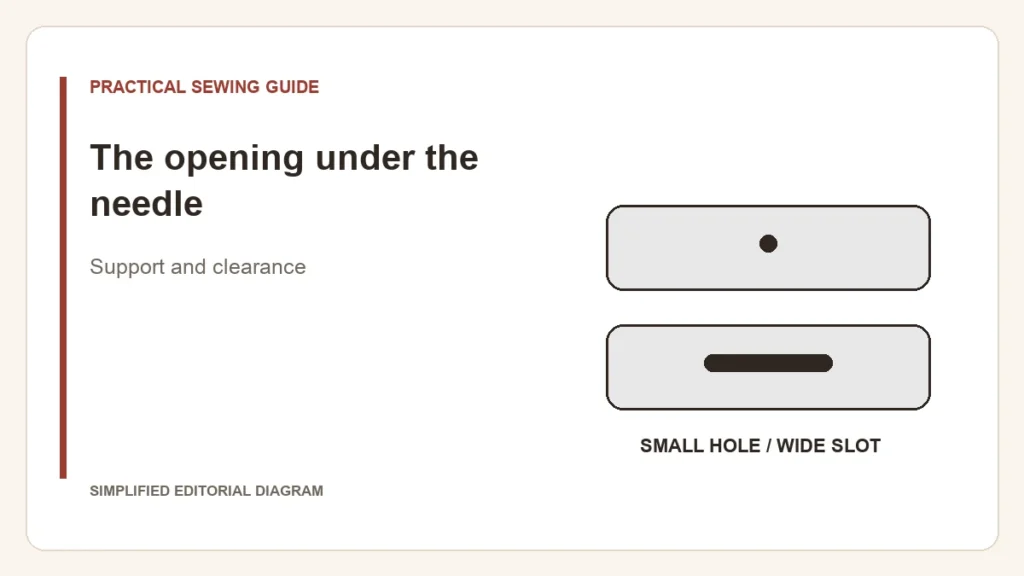
A straight-stitch plate leaves a small opening around the needle. A zigzag plate has a wider opening for lateral movement. The smaller hole can support fabric close to the needle, but it also limits which needle positions and stitches are safe.
The plate and stitch must agree
| Planned operation | What must be checked |
|---|---|
| Centered straight stitching | The exact compatible plate and permitted needle position |
| Zigzag or a decorative stitch with sideways movement | Enough approved opening and a compatible foot throughout the pattern |
| Twin-needle sewing | The approved needle spacing, plate, foot and stitch combination |
| Changing to an off-center straight stitch | Whether the fitted plate permits that position |
BERNINA’s stitch-plate explanation describes the fabric-support benefit of smaller openings. It also explains that supported machines may require you to identify the fitted plate in a security setting. Do not assume every machine detects the plate automatically, or that another brand’s menu works the same way.
Make a plate change part of the setup change
- Switch off and follow the manual’s removal and fitting procedure.
- Confirm that the plate is seated and secured correctly, with the permitted foot installed.
- Select the compatible stitch, needle position and any required safety setting.
- Perform the manual’s clearance check before powered sewing. Stop at resistance rather than forcing a full cycle.
A small-hole plate is not a repair for all fabric-handling faults, nor does it convert a household machine into a heavy-material specialist. If the fabric is already being pulled into the opening, also check the documented needle, threading and starting setup.
Remember the next stitch
The risk often arrives after the straight seam is finished: a buttonhole, zigzag or shifted needle position may no longer fit the opening. Recheck the plate when changing the operation. If contact has already occurred, use the needle-strike checks before continuing.