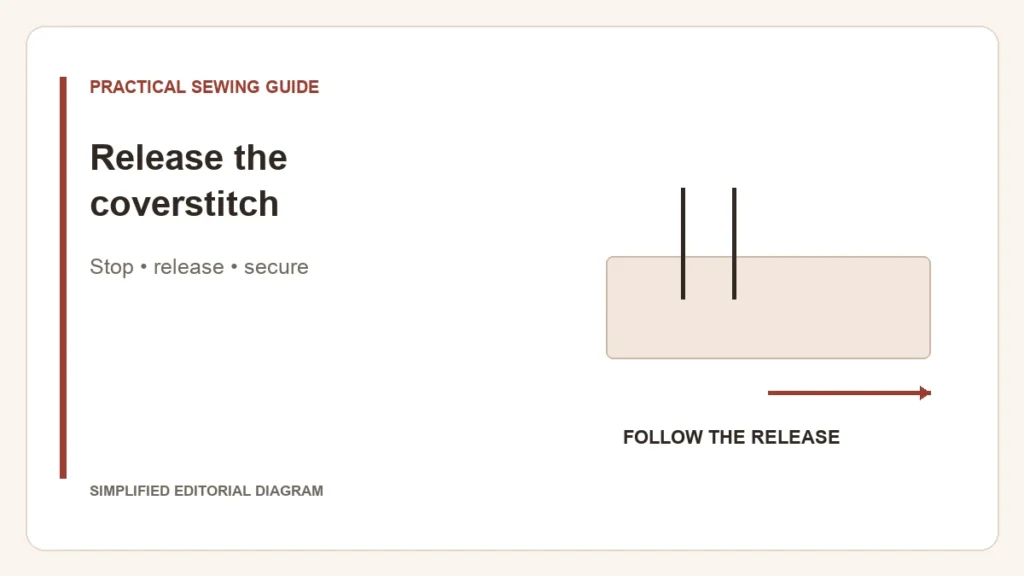
A coverstitch seam may still be engaged with the loop-forming system when you stop. Pulling harder can distort the hem or break threads. Use the machine’s documented release procedure, then secure the ends as required; removing the fabric and securing the seam are separate operations.
Where does the seam finish?
| Situation | Find this in the manual |
|---|---|
| At an open fabric edge | The documented end-of-seam method, which may use a scrap after the work |
| Inside fabric or after a circular hem | The release procedure for stopping within stitching |
| After removal | How to bring threads to the required side and secure them |
One model’s sequence shows why the distinction matters
The Janome Cover Pro 900CP instruction book separates these cases. Its middle-of-stitching procedure raises the needles to the highest position, raises the foot, draws slack in the needle threads ahead of the eyes, then removes the fabric toward the rear before cutting. Its open-edge method uses a following scrap. Read the illustrated sequence for the exact model rather than applying a serger chain-off habit.
Do not force a resistant handwheel or fabric. If the specified release does not free the work, stop and check the manual or support guidance. Keep the motor inactive while handling threads near the needles.
After the fabric is free
Leave enough thread for the prescribed securing method. Inspect the seam end before trimming close. A neat-looking row can still unravel if its final threads are not secured correctly. Practice the whole finish on a sample before doing a closed garment hem.
If stitches were missing before you tried to remove the fabric, use the skipped-stitch diagnosis. If the seam was sound and failed only during removal, concentrate on the release and finishing sequence instead of changing the tension for the next garment.