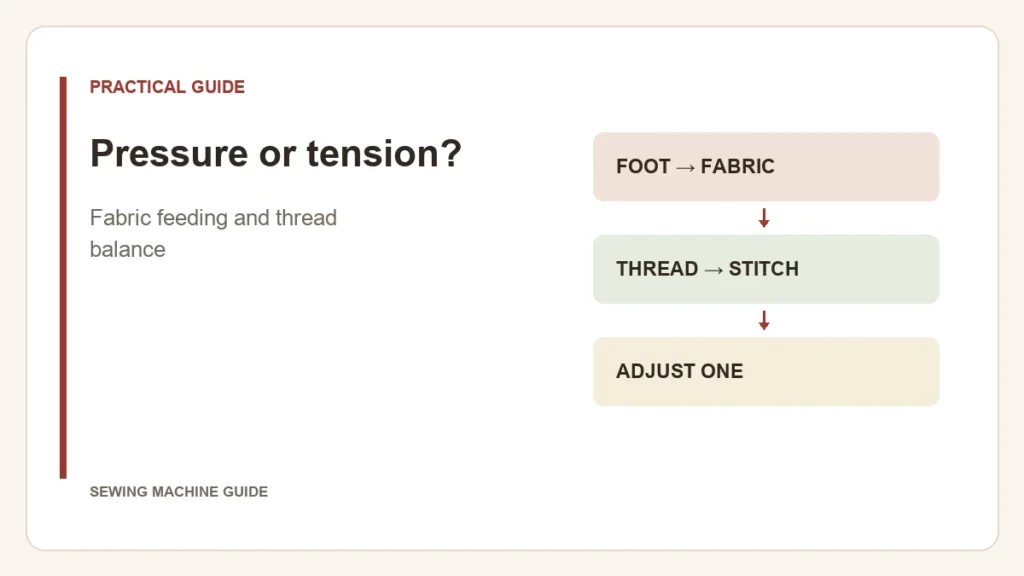
First decide what moved: the fabric, the thread, or both. Presser-foot pressure affects the fabric’s contact with the feed system. Thread tension affects resistance on the thread. Neither control is a general-purpose cure for an unattractive seam.
| What you see | First line of investigation | Do not assume |
|---|---|---|
| Flat fabric, but loose loops or an unbalanced stitch | Threading route, needle/bobbin installation, then thread balance | That a pressure adjustment will remove loose loops |
| Balanced stitches, but a stretched edge or layers that finish unevenly | Handling, support, feeding and documented foot pressure | That tightening thread will make the layers advance together |
| Both distorted fabric and poor stitches | Restore the documented threading setup, then assess feeding on a fresh sample | That changing both dials together will identify the cause |
Use the controls for their own jobs
Too much foot pressure can resist the fabric’s movement; too little can let the work wander. Susan Beck’s pressure explanation illustrates the consequences on knits and layered quilting. The direction of a useful change depends on the material and machine. There is no pressure number that belongs to all knits or all quilts.
Tension problems need a properly threaded machine before the dial reading means much. If the main symptom is a nest underneath, use the thread-bunching diagnosis rather than starting with a bobbin-case screw adjustment.
Make the next sample informative
- Mark matching points on two scraps from the actual project. Include the interfacing or batting if it changes the assembly.
- Note the original settings. Sew without pulling and inspect both faces, the layer ends and the fabric’s flatness.
- Change only the control linked to the remaining symptom, following the manual. Label that sample and compare it with the first one.
If the stitches improve but the layers still creep, you have separated two problems rather than failed to find one magic setting. Address the feeding issue next. On a machine with no user pressure adjustment, do not turn an internal screw to invent one; investigate the supported handling or accessory options instead.