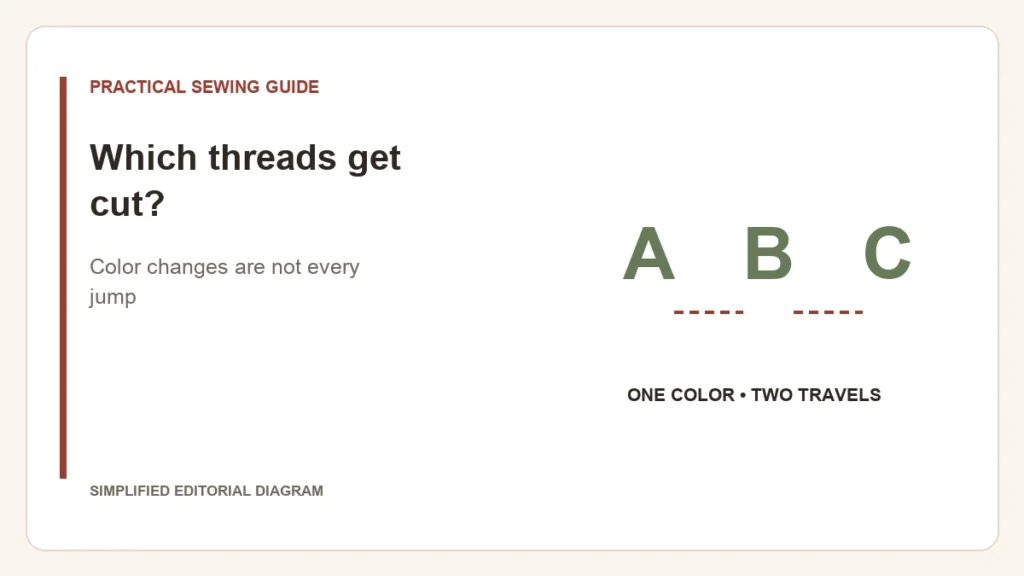
An automatic thread cutter does not necessarily remove every thread bridge inside an embroidery color. The machine may cut at a color change or at the end, while leaving travel between separate shapes. Jump-stitch trimming is a separate capability and setting to verify.
One-color lettering makes the distinction visible
Imagine three separated letters stitched in the same color. The needle must travel between them. A cut only at the end of the color can leave connecting threads across the spaces. That hypothetical design is a more useful demonstration than a single filled shape with no travel gap.
| Cutting behavior | What to inspect |
|---|---|
| End-of-color cut | Does it cut when that thread color is finished? |
| Jump trimming within a color | Does it remove travel threads between separate objects? |
| Minimum jump length or related threshold | Which shorter connections remain intentionally? |
Brother’s jump-trim documentation shows a threshold that can leave shorter jumps uncut and explains the tradeoff between more trims and remaining surface connections. Those controls and ranges belong to the documented machine family; do not apply them to every Brother model.
The file and machine need to agree
Software can contain trimming information without guaranteeing that every machine will interpret it the same way. PE-DESIGN 11’s jump-trim instructions explicitly qualify supported machine types and minimum-length behavior. Verify both the exported file and the destination model.
- Ask for a demonstration containing separated objects within one color.
- Check the settings actually enabled, not only the specification phrase “automatic cutter.”
- Inspect the front and back after stitching, including tails left by repeated trims.
If manual trimming remains necessary, use the machine’s stopping and finishing instructions and protect the stitched fabric. More automatic cuts are not always the most useful outcome for a dense design with many short moves. Choose a workflow that leaves an acceptable finish without assuming that the sewing-mode cutter promises embroidery jump trimming.