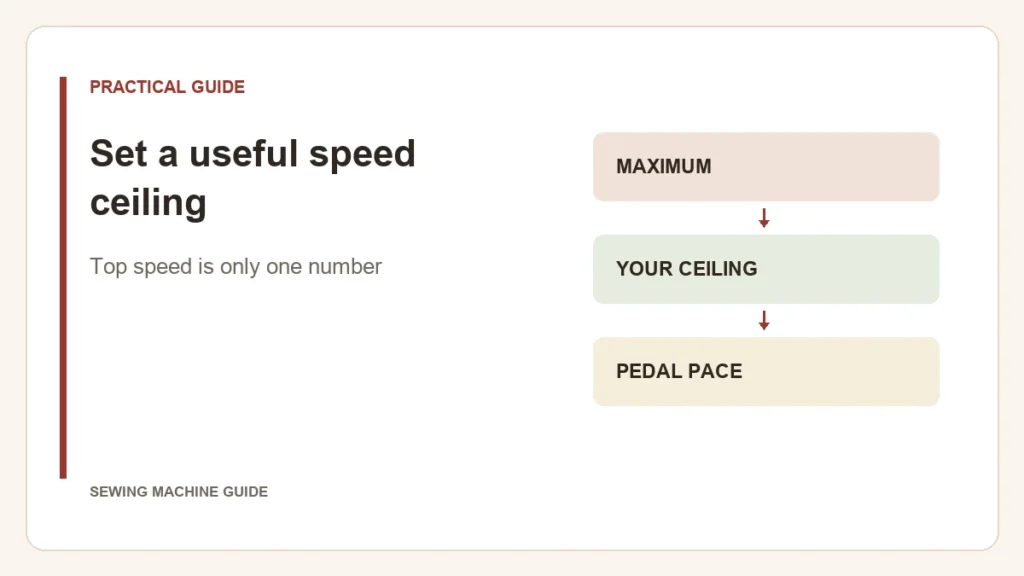
A 1,500-stitches-per-minute label tells you the ceiling the manufacturer advertises. It does not tell you how comfortably you can begin a short seam. A separate speed limiter changes the ceiling available through the pedal; pedal feel determines how you approach it.
One pedal, two different ceilings
Imagine a machine whose manual says its slider limits pedal speed. With a low ceiling selected, pressing the pedal fully reaches that lower setting. With the ceiling raised, the same full pedal movement permits faster sewing. You still need to judge how the machine starts and responds between rest and full depression.
This is the relationship described in the Janome 1600P-QC instruction book. It should not be assumed for every machine with a slider: confirm what happens with the pedal connected and whether start/stop-button operation behaves differently.
Three claims that should not be confused
- Maximum speed: the published upper rate.
- Maximum-speed control: an operator-selected limit for the current work.
- Stitch regulation: a different function that responds to fabric movement in systems designed to provide it.
Why a free-motion quilter may want the limiter
In free motion, your hands move the fabric. With needle speed unchanged, moving the fabric farther between penetrations produces longer stitches. A comfortable ceiling can help coordination, but it does not measure hand movement or make equal stitches for you. That distinction is central when moving from feed-guided quilting to free motion.
Evaluate the first stitches, not a race across a sample
Ask to start near a marked corner, stop and start again using the control you expect to use at home. Notice whether the first few stitches arrive predictably. Then try the relevant fabric assembly. A low speed number does not establish penetration power, and a fast top speed does not prove capacity over a bulky join.
If you already control the pedal comfortably and mostly sew long seams, a separate limiter may be a convenience. If pace repeatedly gets ahead of your hands, the limiter and slow-start response deserve more attention than the largest speed figure in the specification table.