Sewing Machine Guide

  • Home
  • Reviews
  • Best
    • All Best Picks
    • Computerized
    • Embroidery
    • Mechanical
    • Quilting
  • Guides
    • All Sewing Guides
    • Computerized
    • Embroidery
    • Mechanical
  • Comparisons
    • All Comparisons
    • Computerized
    • Embroidery
    • Mechanical
    • Straight-Stitch
  • Favorites
Guides

Sewing Machine Needle Hitting the Plate: Stop Before Another Strike

2 min read
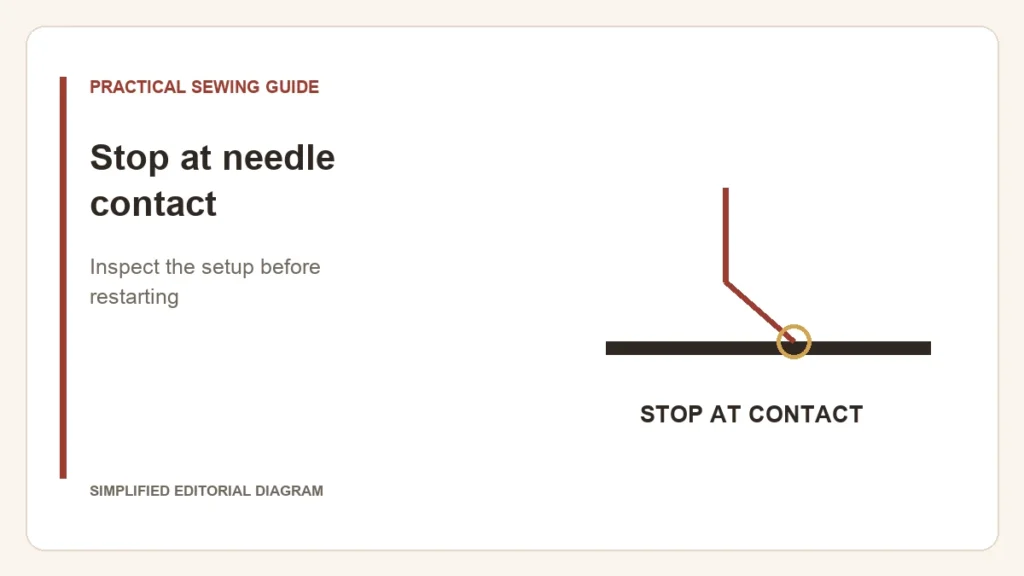
Simplified editorial diagram: Stop at needle contact. Inspect the setup before restarting.

Table of Contents

Stop sewing when the needle contacts the plate or foot. Do not test whether more speed will push it through. Make the machine safe according to the manual, then inspect the setup that changed before the contact started.

Start with what was fitted or selected

  • Needle: check the approved system, insertion direction, seating and clamp. Replace a bent or damaged needle with the correct new one.
  • Foot and plate: check their exact compatibility and the opening required by the stitch.
  • Stitch and position: a lateral stitch or shifted needle may not fit a straight-stitch opening.
  • Fabric handling: pulling the work can deflect the needle, especially at a difficult join.

Brother’s needle-strike guidance for SQ9000/SQ9050 lists installation, a loose clamp, bent needles, unsuitable needle/thread/fabric combinations, tension and pulling as checks. Other models can require different insertion details; use the matching manual, not the pictured orientation by assumption.

Two different next steps

A clear setup mismatch is found

Correct it using the documented procedure. Inspect for damage caused by the contact. Perform the manual’s clearance check with power inactive before trying a scrap at a controlled pace. Stop immediately if the needle still meets an obstruction.

The permitted setup still makes contact

Leave the machine stopped and arrange service. Do not bend the needle bar, enlarge the plate hole or adjust internal timing from a general online tutorial. A visible strike is a symptom, not a diagnosis of which internal part moved.

Give support a precise description

Record the model, needle, foot, plate and selected stitch. Note whether contact occurred without fabric, only at a thick crossing, or after an attachment change. Keep the damaged needle safely and photograph the relevant setup if support requests it.

The plate-clearance guide helps prevent an incompatible change. For a join that stalls without any contact, use the thick-seam diagnosis. Persistent needle contact needs resolution before another project, not a stronger needle as a workaround.

Share this article

Twitter Facebook LinkedIn Email

Related Articles

Editorial illustration: Walking foot / free motion. Who moves the quilt?.

Walking Foot vs Free-Motion Quilting: Choose How the Quilt Will Move

Read More
Editorial diagram: Free arm or flatbed?. tube, arm fit, needle path.

Free Arm vs Flatbed Sewing: Fit the Garment Around the Bed

Read More
Editorial diagram: Find the missing stitch. needle setup, flat sample, hem crossing.

Coverstitch Skipping Stitches: Check Needles, Threading and the Hem Join

Read More

About Sewing Machine Guide

Independent sewing machine reviews and practical buying guidance.

Your trusted source for honest, in-depth product reviews and comparisons.

Quick Links

  • Home
  • Reviews
  • Best Articles
  • Comparisons
  • Guides
  • About
  • Contact
  • Privacy Policy

Categories

  • Computerized Sewing Machines
  • Coverstitch Machines
  • Embroidery Machines
  • Handheld Sewing Machines
  • Industrial
  • Mechanical Sewing Machines

© 2026 Sewing Machine Guide. All Rights Reserved.

As an Amazon Associate I earn from qualifying purchases. We may also earn from other retailer links. Affiliate disclosure