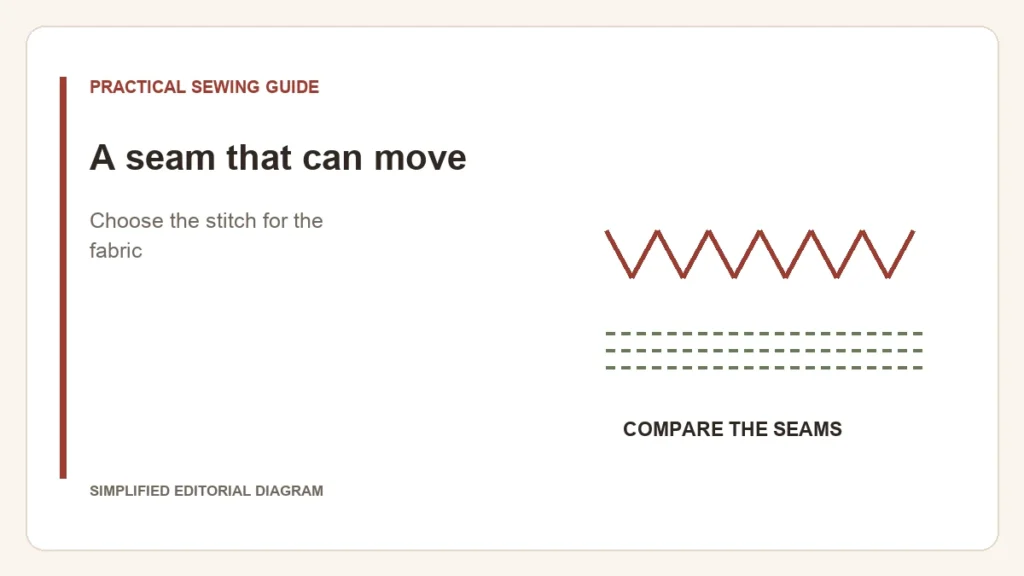
“Stretch stitch” is a family label, not one universal stitch. A simple zigzag and a reinforced forward-and-back pattern can both appear on a machine’s chart, yet they leave different seams. Choose by the movement the garment needs and the fabric’s response.
Read the formation before selecting the symbol
For example, Singer’s stretch-pattern instructions describe a straight stretch formation that travels forward and backward. Its selector and S1 settings belong to the machines covered by that manual. They do not mean that every stretch pattern on another machine uses the same controls.
| Question about the garment | What to compare on scraps |
|---|---|
| Does the seam need to open as the garment is put on? | Whether the stitched assembly stretches enough without thread breaking |
| Is the fabric fine or easily distorted? | Whether repeated needle penetrations or back-and-forth feeding leave a bulky or rippled seam |
| Might the fit need alteration? | Whether the chosen seam can be removed without damaging the fabric |
| Is the edge finish also required? | Whether the seam construction and raw-edge treatment need separate operations |
Compare like with like
Use two scraps cut in the same direction from the project fabric, with the same layers and needle/thread combination. Try the machine’s documented knit-seam options. Examine both faces while relaxed, then apply the movement that the finished seam must accommodate. Do not stretch it to destruction and call the surviving option a universal winner.
A seam can stretch adequately and still look wavy. That is a separate handling and feeding question. Conversely, a flat-looking seam can fail when the garment is pulled on.
Choose the simplest formation that passes
Keep the sample that meets the project’s stretch, appearance and alteration needs. Record the actual stitch and settings. More repeated stitches are not automatically better, and the word “stretch” on the chart is not a substitute for the finished-seam check.