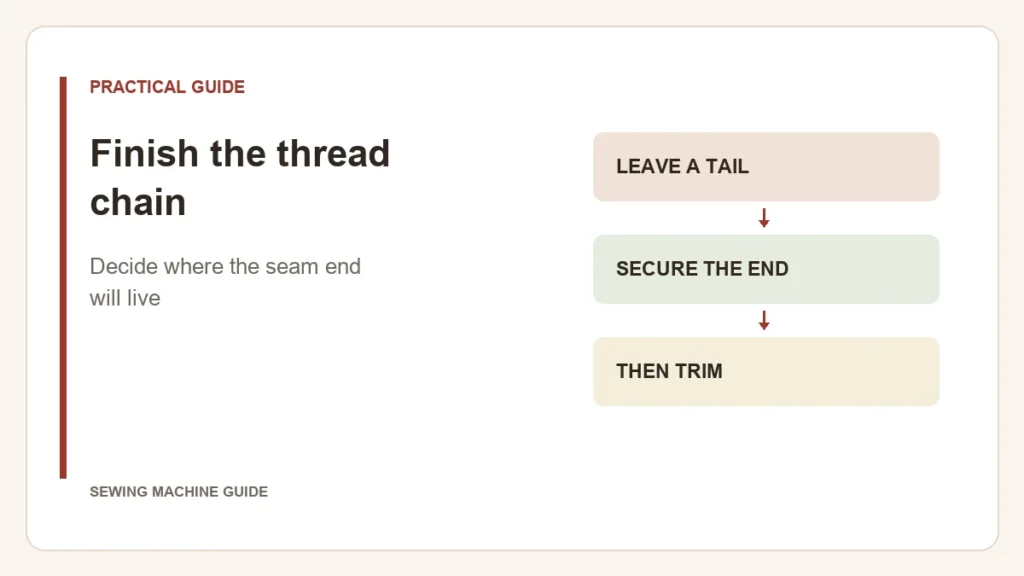
Before trimming an overlock chain, decide where its end will live. An exposed end needs its own finish. An end that will cross another seam can be secured during that later construction—but only if it is actually caught there. Leave a workable tail until that decision is settled.
For an exposed end, return the chain into the seam
- Keep enough chain to handle rather than cutting it flush.
- With a suitable hand needle or seam-tail tool, draw the chain back through the completed overlock stitches using the method appropriate to the stitch.
- Inspect both faces and gently handle the end. Trim the excess only after the tail is held and the finish is satisfactory.
BERNINA’s seam-end tutorial illustrates this approach and alternatives on four-thread overlock samples. Choose for the stitch you have made; these are not several treatments that every seam needs in succession.
Where that finish may not be the best choice
| Construction | Reason to consider another treatment |
|---|---|
| End enclosed by a later crossing seam | Preserve and position the chain until the later stitching securely catches it |
| Bulky decorative chain on a fine edge | Pulling the chain back through may distort the edge; a suitable tied finish may be less intrusive |
| End against skin | Check whether the chosen knot or returned tail creates an uncomfortable lump |
A compatible seam sealant is another possible treatment, but its effect on color, stiffness and washing needs a scrap test. Follow drying instructions. Do not substitute adhesive for understanding how a load-bearing seam end is held.
Release the fabric without undoing the work
Use the machine’s documented procedure to release work from the stitch fingers. Do not tug a locked chain free or reach into the needle area while operating the machine. Check the seam end again after removal, because a tail that looks tidy can still pull loose.
The result should be an end that stays secure under the item’s normal handling, with acceptable bulk and appearance. A coverstitch hem has a different release and securing sequence; identify the stitch system before following an overlock tutorial.