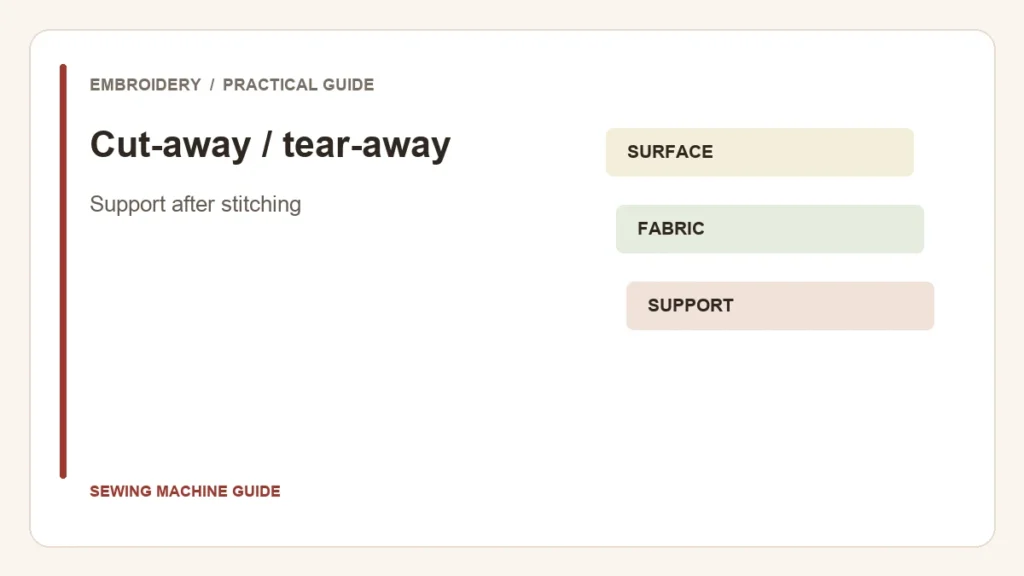
Choose backing for the fabric after embroidery, not only while it is in the hoop. Cut-away leaves support behind the design. Tear-away lets you remove excess by tearing. The neatest-looking reverse before washing is not necessarily the best-supported finished item.
| Project question | Direction to investigate |
|---|---|
| Does the fabric stretch? | A suitable cut-away that continues supporting the stitches. |
| Is the woven fabric stable? | Tear-away may suit the design and desired reverse. |
| Is the design dense or highly detailed? | Evaluate the stabilizer’s weight and support, not just its removal type. |
| Will backing show through? | Check color, opacity and the actual sample against the fabric. |
OESD’s stabilizer guide recommends cut-away for stretch fabrics and identifies tear-away as an option for stable wovens. It also treats design density and the desired finished appearance as selection factors. A thin, dense logo and an open motif on the same garment need not use an identical backing.
Compare two different outcomes
While stitching
Watch for movement, gaps between outlines and fills, or fabric distortion.
After removal and care
Check shape, softness, visible backing and whether the embroidery remains supported.
For a T-shirt logo, ask whether the area around the motif stretches during wear. For a decorative cotton panel, ask how much of the reverse will be visible and whether the design is sufficiently supported. These examples begin the selection; they do not prescribe a particular brand or number of layers.
Make the sample include removal
- Use spare material that represents the garment, plus the intended thread and design. A different fabric can hide the problem you are trying to solve.
- Follow the stabilizer product’s hooping and removal directions. Label the type and weight before stitching.
- Inspect alignment while the work is still supported. Then remove excess by the product’s method without tugging on the stitches.
- Evaluate the reverse, flexibility and appearance after the care process the finished item permits.
- Keep the successful sample with its packaging label so the next project does not start from an unidentified roll.
Singer’s selection guidance likewise separates ongoing support from removable backing. A product described as wash-away adds another requirement: the fabric and finished project must tolerate its removal method.
Do not use more backing to solve every fault
If outlines remain misaligned, investigate hooping, design suitability and movement as well as backing. Adding layers without identifying the cause can change the feel of the garment without resolving it. For the separate question of frame fit, use the hoop-size and embroidery-area guide.
Choose the least intrusive backing that provides adequate support for the actual fabric and design, then keep the evidence in a finished sample. Convenience during cleanup should not be the only deciding factor.