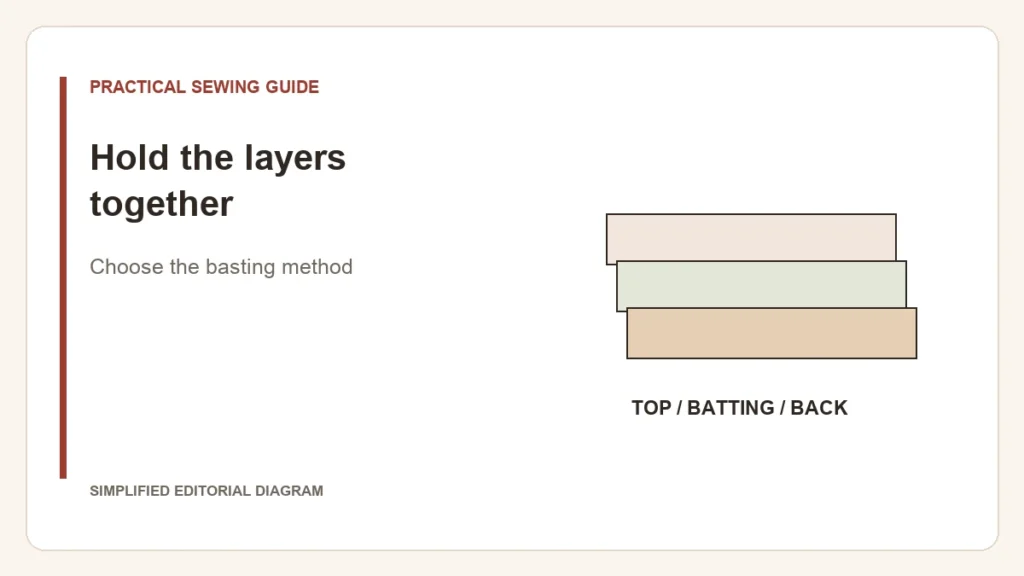
Basting temporarily holds the top, batting and backing together. It does not replace quilting, and a walking foot does not repair a wrinkle already trapped between the layers. Choose the method around your workspace, materials and the way you will remove or work around it.
| Method | What you handle during quilting | What to decide first |
|---|---|---|
| Safety-pin basting | Remove pins before they reach the needle or foot | Can you place and remove them comfortably across the quilt? |
| Temporary fabric adhesive | No pins in the stitching path, but product handling matters | Is the product suitable for the fabric/batting and your workspace, with label directions followed? |
| Thread basting | Temporary stitches remain until removed | Can you keep them distinct from the permanent quilting and remove them without damage? |
The AQS/BERNINA quilt-finishing lesson presents these methods alongside fusible batting. Fusible batting is a separate product choice: follow its pressing and material requirements rather than treating any batting as heat-activated.
Look underneath before the first quilting line
Lay out the backing without pulling it out of shape, then arrange the other layers according to the chosen method. Check the reverse as well as the top. A smooth-looking top can hide a backing fold; permanent stitching will make that fold harder to correct.
A useful small trial
- Use the planned top fabric, batting and backing.
- Apply the selected basting method according to its instructions.
- Quilt a representative area, remove temporary materials as directed and inspect both faces.
For spray products, follow the label’s ventilation, flammability, application and cleaning directions; do not spray into the machine. Keep pins out of the needle path. These handling requirements may decide the choice even when two methods both hold the layers adequately.
Once the sandwich is stable, choose feed-guided or free-motion quilting for the intended design. If backing pleats keep appearing, revisit preparation and support before blaming stitch tension.