Sewing Machine Guide

  • Home
  • Reviews
  • Best
    • All Best Picks
    • Computerized
    • Embroidery
    • Mechanical
    • Quilting
  • Guides
    • All Sewing Guides
    • Computerized
    • Embroidery
    • Mechanical
  • Comparisons
    • All Comparisons
    • Computerized
    • Embroidery
    • Mechanical
    • Straight-Stitch
  • Favorites
Guides

Serger Not Cutting Fabric: Is the Knife Disengaged or the Edge Ragged?

2 min read
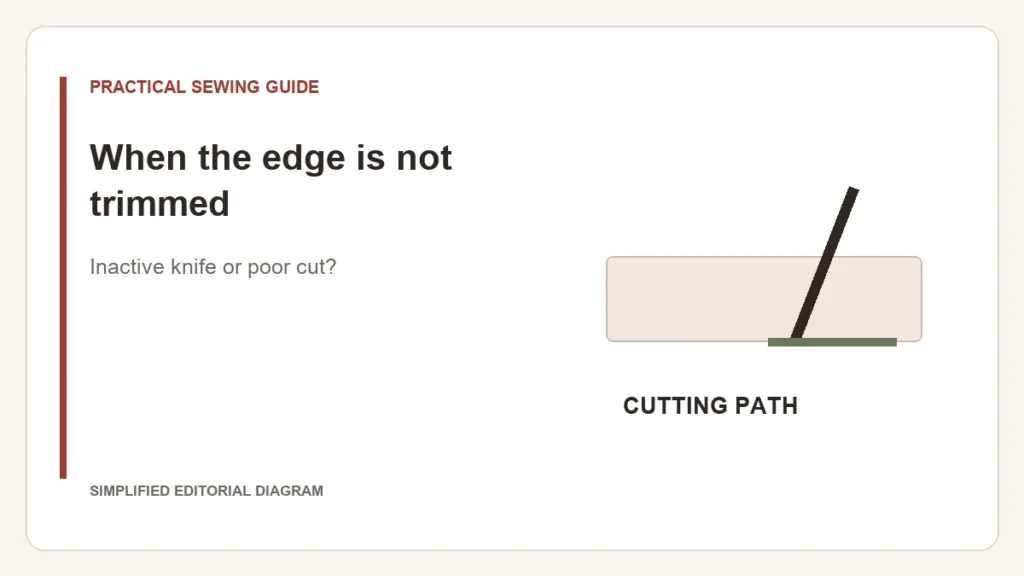
Simplified editorial diagram: When the edge is not trimmed. Inactive knife or poor cut?.

Table of Contents

Stop and inspect the result before adjusting thread tension. A serger can form stitches while failing to trim properly. A completely uncut allowance and a chewed edge point to different questions, and neither is fixed simply by tightening the loopers.

The allowance passes through without being cut

Check the manual’s cutting-mode or knife-engagement instructions. Some setups intentionally take the knife out of action. Make the machine safe before operating the mechanism, and use the prescribed needle/knife position. Do not copy a lever movement from a different model. Also confirm that the fabric allowance actually reaches the cutting path.

The edge is ragged or only partly cut

Stop using the project as a test. Follow the permitted cleaning procedure and inspect for visible damage without handling a sharp edge unnecessarily. Worn knives or an alignment problem need the correct model’s service or replacement procedure; there is no universal adjustment dimension.

Brother’s knife troubleshooting page distinguishes a locked knife from worn blades and directs replacement to an authorized dealer. That is a useful limit: a general guide should not turn a poor cut into an invitation to alter blade alignment.

Bring a useful sample to support

  • Keep a sample showing the uncut or ragged edge.
  • Record the exact model, stitch configuration and material layers.
  • Note whether the issue began after a knife change, a jam or a change of stitch setup.
  • Report unusual contact or noise rather than repeatedly running the machine to reproduce it.

Remove pins and clips before the cutting area. Do not use fingers to guide scraps close to the knife, sharpen it in place, or continue through abnormal resistance.

When trimming is clean but loops extend beyond the edge, the next question is cutting width relative to stitch formation. When trimming itself is poor, resolve that first; a different thread tension will not restore a damaged cutting edge.
Share this article

Twitter Facebook LinkedIn Email

Related Articles

Editorial diagram: Free arm or flatbed?. tube, arm fit, needle path.

Free Arm vs Flatbed Sewing: Fit the Garment Around the Bed

Read More
MIRABIN sewing machine and supplied offer accessories

Mini Sewing Machine Power: Adapter, Batteries or USB?

Read More
Editorial illustration: Thread break diagnosis. Identify the failing path.

Serger Thread Keeps Breaking: Find Which Path Fails First

Read More

About Sewing Machine Guide

Independent sewing machine reviews and practical buying guidance.

Your trusted source for honest, in-depth product reviews and comparisons.

Quick Links

  • Home
  • Reviews
  • Best Articles
  • Comparisons
  • Guides
  • About
  • Contact
  • Privacy Policy

Categories

  • Computerized Sewing Machines
  • Coverstitch Machines
  • Embroidery Machines
  • Handheld Sewing Machines
  • Industrial
  • Mechanical Sewing Machines

© 2026 Sewing Machine Guide. All Rights Reserved.

As an Amazon Associate I earn from qualifying purchases. We may also earn from other retailer links. Affiliate disclosure