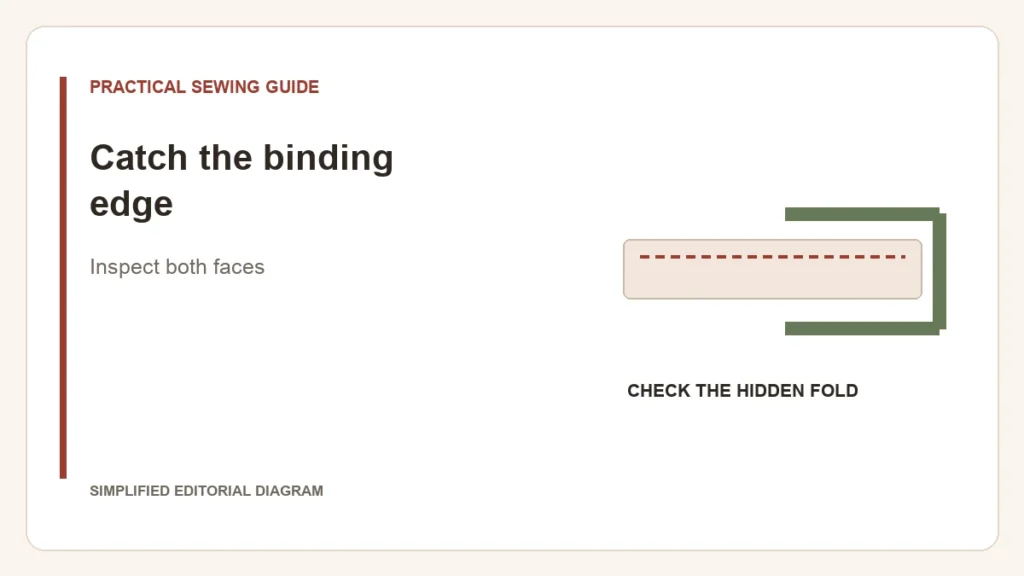
When you stitch from the quilt front to catch binding folded underneath, the important edge is hidden. A neat top line can therefore leave loose sections on the back. Before changing machine settings, check where that folded edge actually sits relative to the needle line.
Choose which edge you want to watch
APQS describes an alternative machine-binding method: attach the binding to the back first, fold it to the front and stitch down the visible fold. This trades a hidden catching task for a visible front finish, with a stitching line on the reverse. Choose the appearance deliberately.
| Finishing approach | What is visible as you sew | What needs checking afterwards |
|---|---|---|
| Stitch from the front to catch binding behind | Front seam line | Every section of the underside fold was caught |
| Bring binding to the front and stitch its fold | The edge being secured | The resulting line and appearance on the back |
Do not widen the strip without checking the fold
A wider strip can leave more material behind the needle line rather than solve its position. Batting thickness, the attachment seam and the way the binding wraps the edge all contribute. Make a small quilt-sandwich sample with the actual binding fabric and batting before cutting a new set of strips.
- Attach a short section using the planned seam allowance.
- Wrap and hold the fold in its intended position without stretching it.
- Stitch a sample, then inspect both faces and gently check for loose sections.
- Include a corner in the next sample if the straight section works but corners remain difficult.
If layers creep while sewing, examine support and the feed-guided setup. If the needle line simply misses an otherwise stable fold, address alignment rather than tension.
Repair missed sections before calling the edge finished. The useful result is secure binding with an acceptable appearance on both faces, even if that means choosing a different finishing direction from the one you first tried.