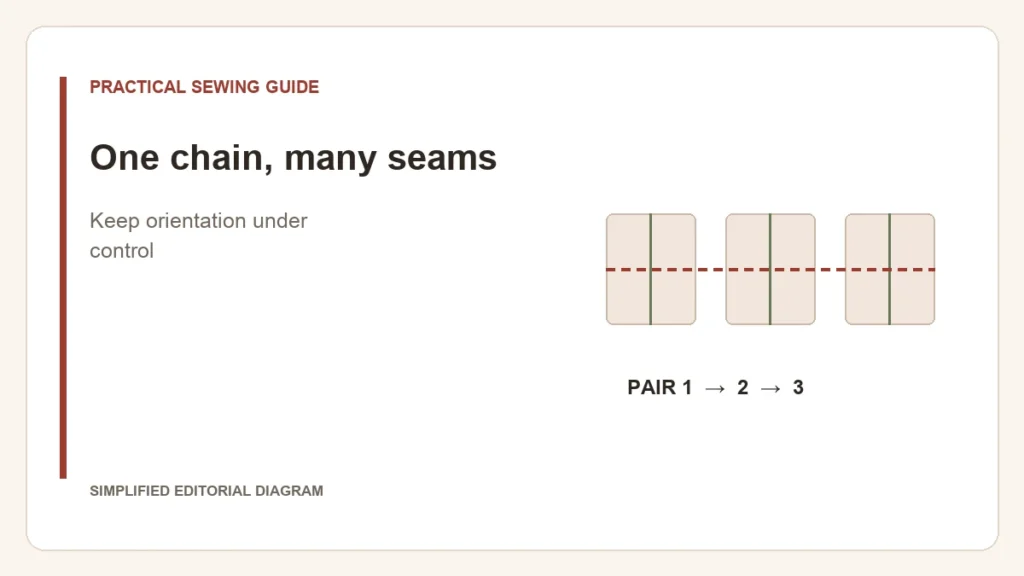
Chain piecing joins a sequence of separate patchwork pairs without cutting the connecting thread after every pair. A leader is a scrap sewn before the first pair; an ender follows the last. The useful gain is a smoother repeated operation, provided the pieces stay in the right orientation.
Set up three pairs before a long chain
- Place each pair right sides together in the order required by the block. Mark the edge to sew if rotation could cause confusion.
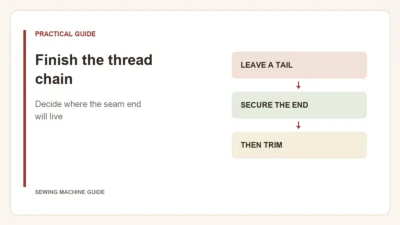
- Start on a suitable scrap leader, then feed the first pair under the documented piecing setup without pulling the chain.
- Continue with the next pairs, keeping the short connecting thread clear. Finish with an ender.
- Separate and press the units as the pattern directs. Check the assembled result before repeating the process for the whole quilt.
Quilts by Jen’s leader-and-ender explanation shows scraps at both ends and discusses how they help starts and finishes. They do not replace a correct threading setup or guarantee a calibrated seam allowance.
The error that multiplies
Imagine twenty paired squares with one print facing the wrong way. Faster stitching will produce twenty wrong units more efficiently. Check the first few pieces after pressing: orientation, size and which edge was joined. This is a layout check as much as a machine check.
- Keep different block units in separate labelled stacks.
- Follow the pattern’s seam-securing instructions; do not extend a patchwork convention to an exposed garment seam.
- Support the chain so its weight does not pull at the needle.
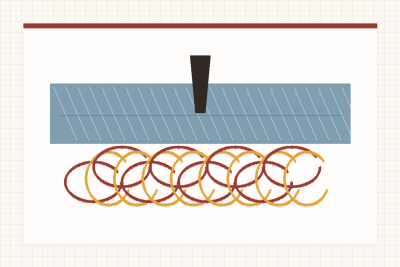
If units finish too small or too large, calibrate the quarter-inch seam on a pressed test unit before making another chain. If thread bunches under the leader too, use the thread-path diagnosis.
A chain is successful when it produces correctly oriented, correctly sized units—not merely when the thread remains uncut between them.