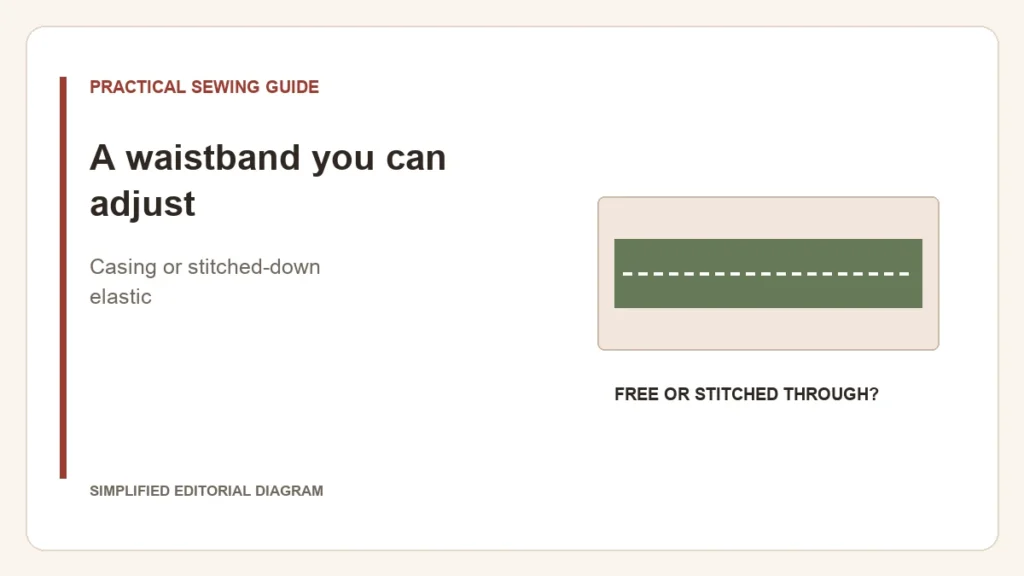
Elastic left free inside a casing is easier to replace or resize through an opening. Stitching through it can help control twisting and distribute the gathers, but makes later changes more involved. Decide which matters before closing and topstitching the waistband.
Keep the fit adjustable until it is right
Test the elastic length in the intended garment, using the pattern’s join and fit instructions. Check sitting and movement as well as standing. A comfortable loose loop on the table does not reproduce the fabric bulk and tension of a finished waistband.
Two constructions, different commitments
| Construction | Useful reason to choose it | Tradeoff |
|---|---|---|
| Elastic enclosed but not stitched through along its length | You may need to replace or alter it | The casing and elastic still need to resist twisting in use |
| Elastic secured with rows of stitching | You want controlled gathers and a stable waistband arrangement | Resizing can require removing those rows as well as opening the casing |
Helen’s Closet shows a casing followed by topstitching through the elastic in its Arden construction. That is one complete pattern method, not proof that every elastic type or waistband should be stitched the same way.
Test the stitched-down option before committing
- Use elastic intended for the construction; check its supplier’s guidance on sewing through it.
- Distribute the fabric as the pattern directs and use the documented needle and stitch setup.
- Check that the test section can extend to the required opening and recover afterwards.
- Inspect whether the finished rows create the appearance and comfort you want.
Do not solve a tight waistband by choosing a stronger stitch. The elastic length, garment opening and stretch available in the construction must work together. The stretch-stitch comparison helps with stitch choice, but it cannot correct an incorrectly fitted waistband.
Leave yourself access until the fit is established. Then finish the chosen construction deliberately, rather than adding rows simply because the machine offers a decorative stitch.